I just wanted to repost this thread from the Specialist Forums, as it is near and dear to my heart:
Very simply:
"How do you go about with terrain for Warmaster?" He was asking about sizes and terrain templates/area terrain, basically.
My response:
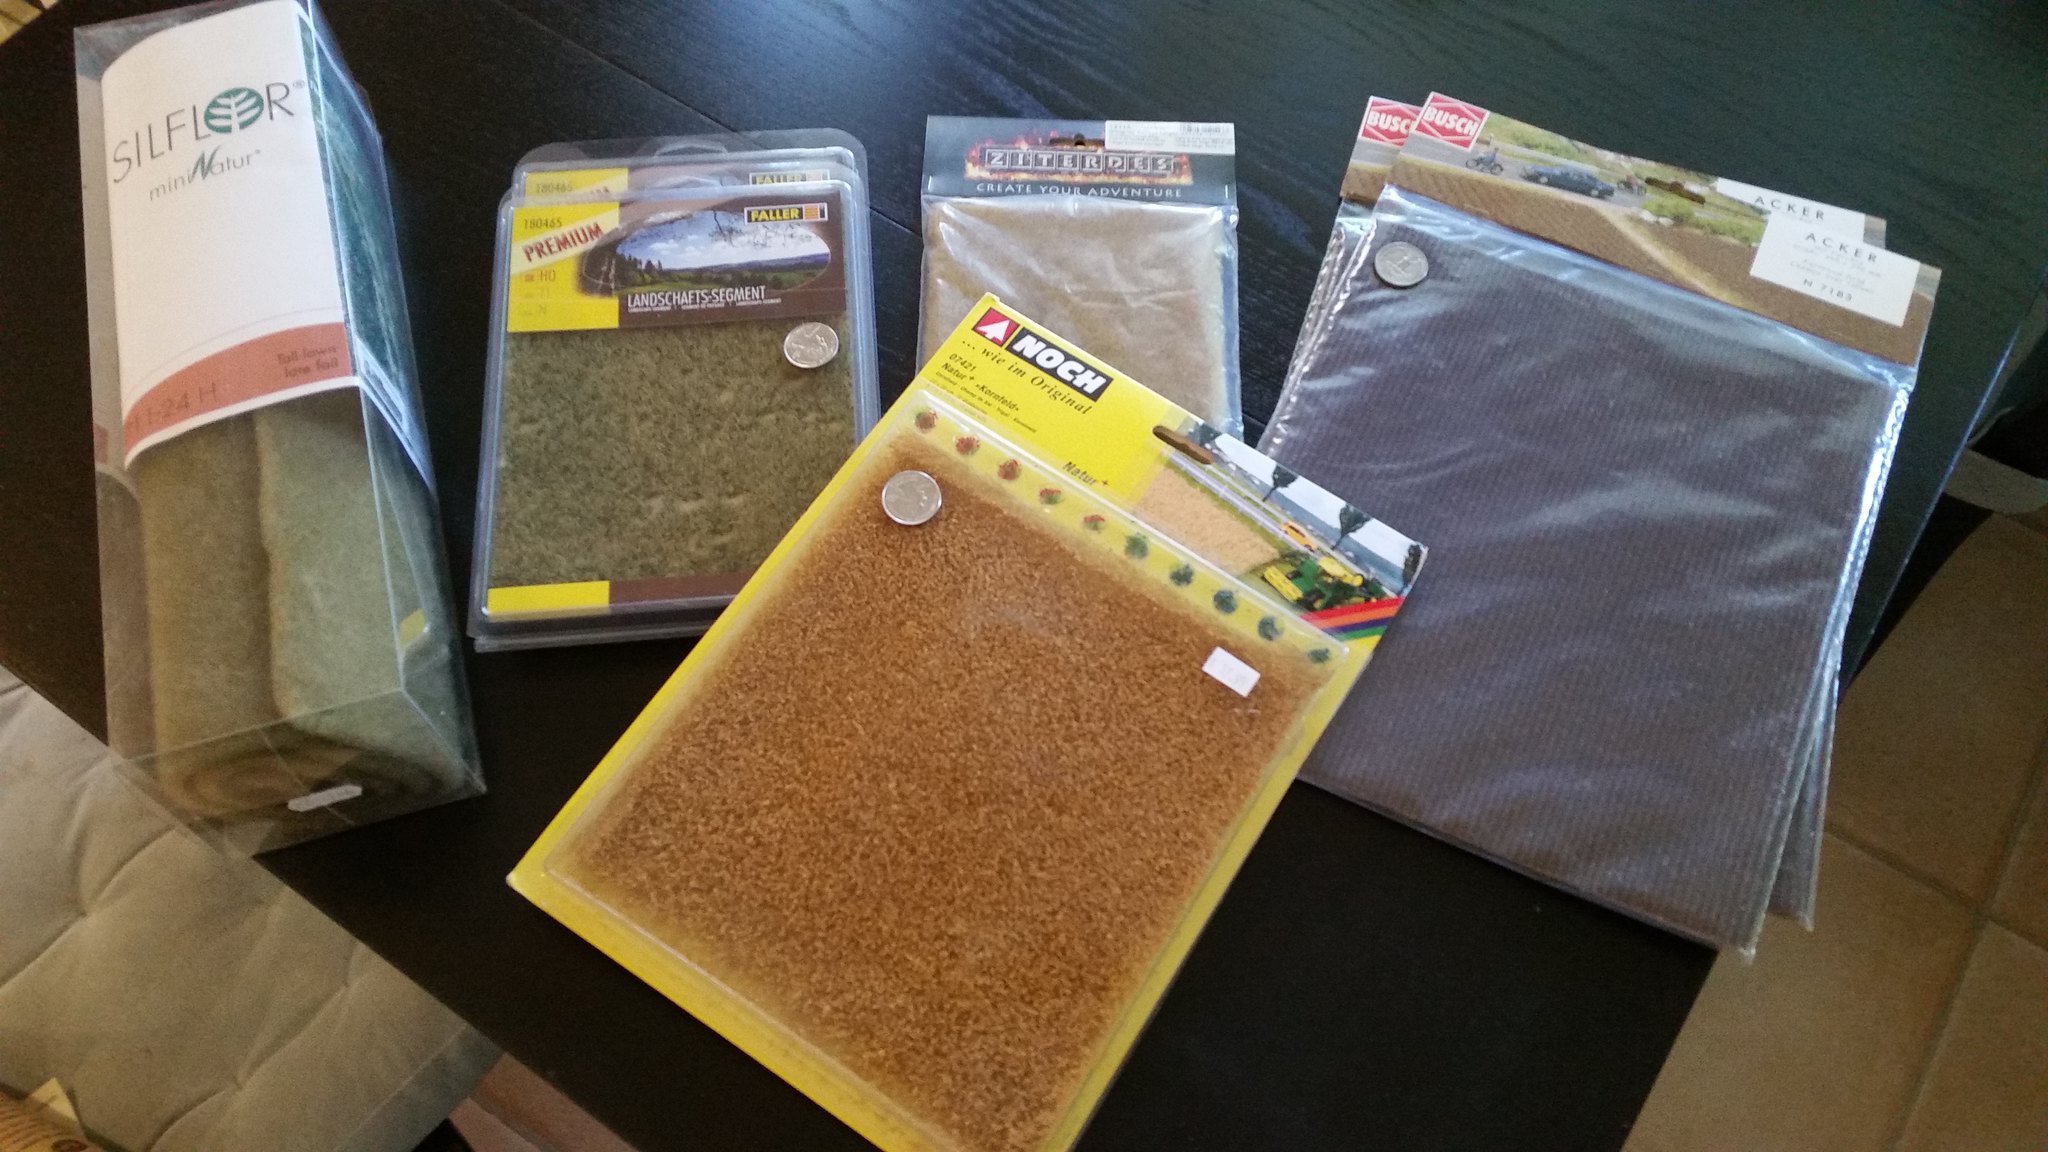
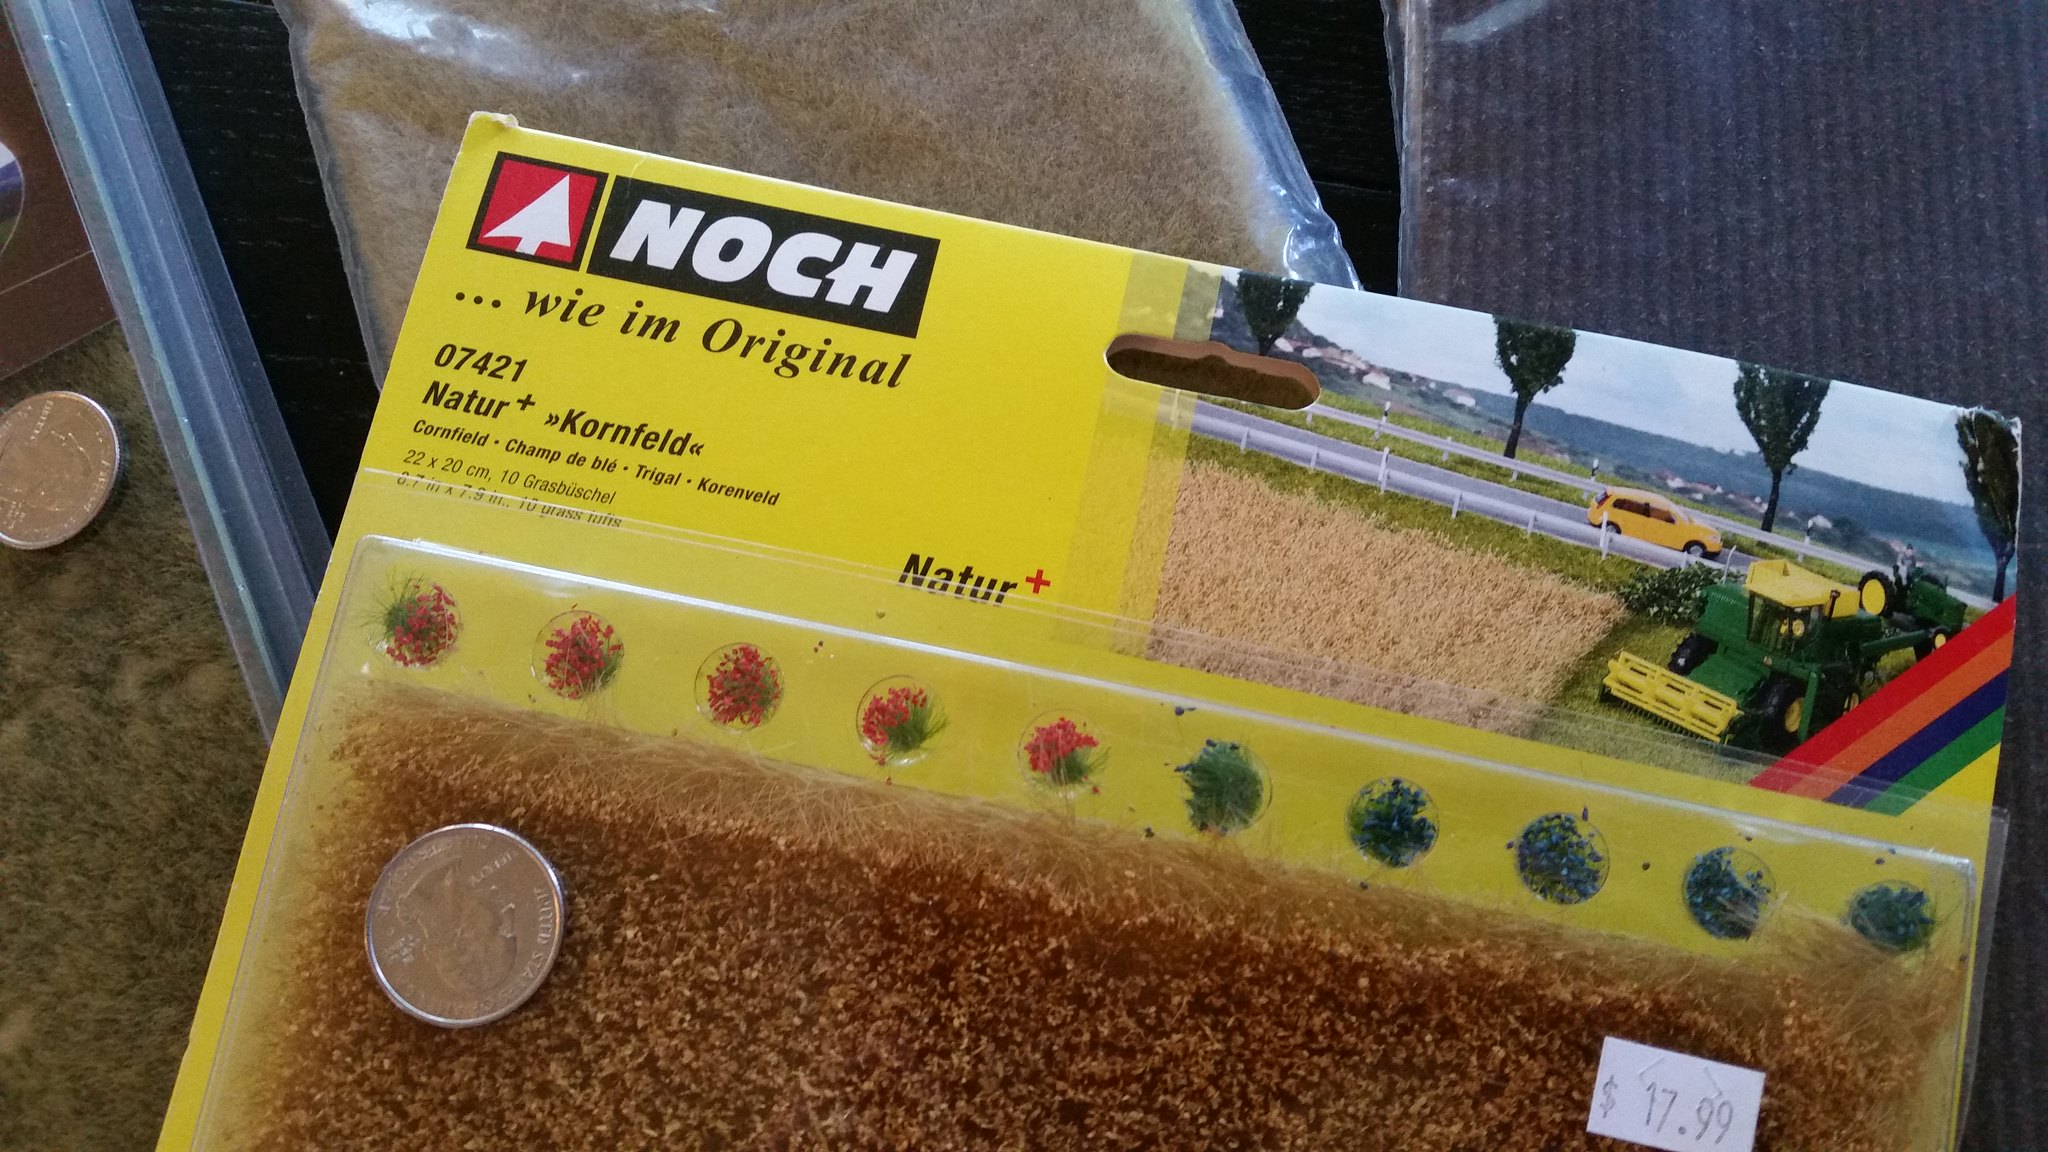
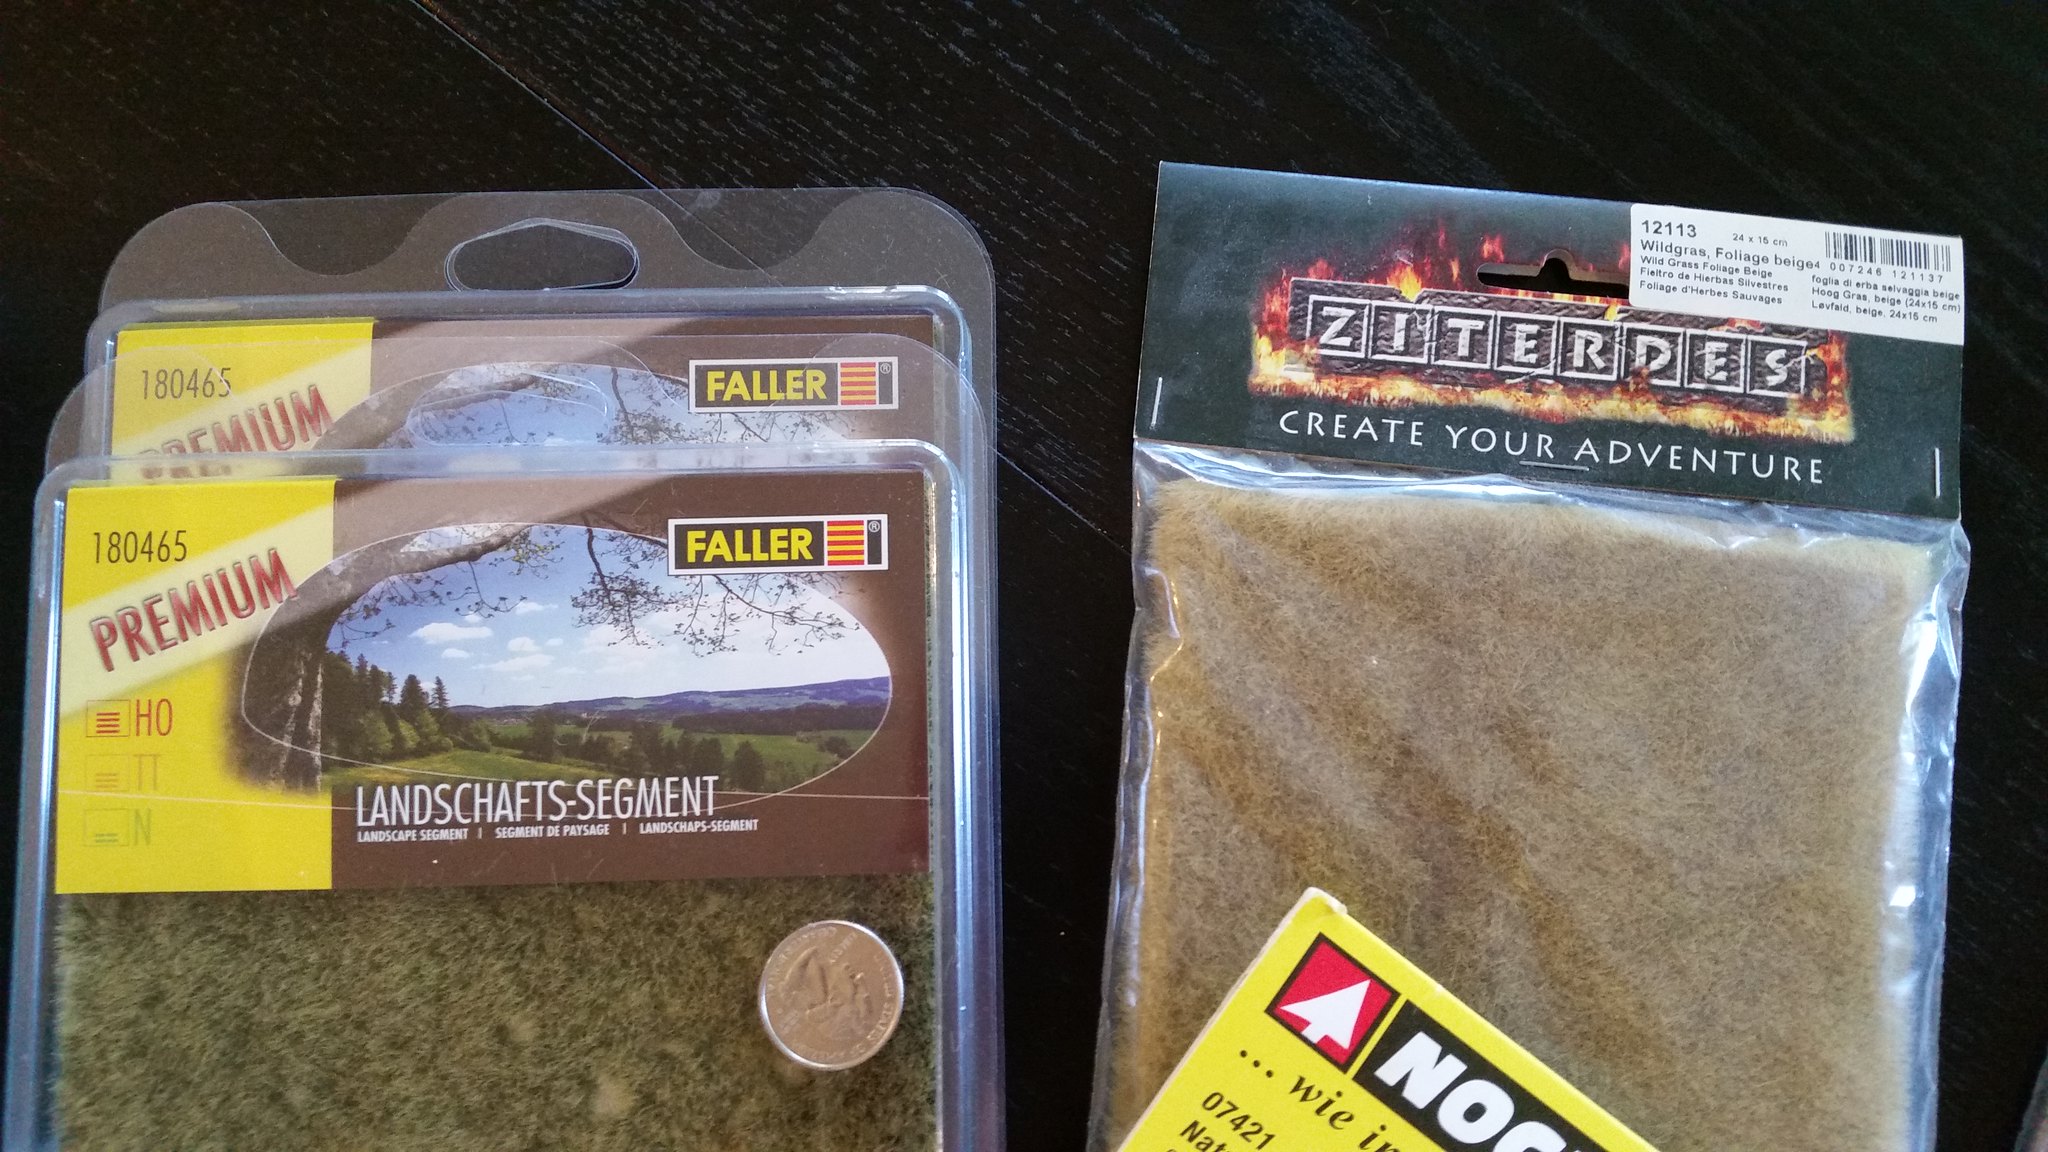
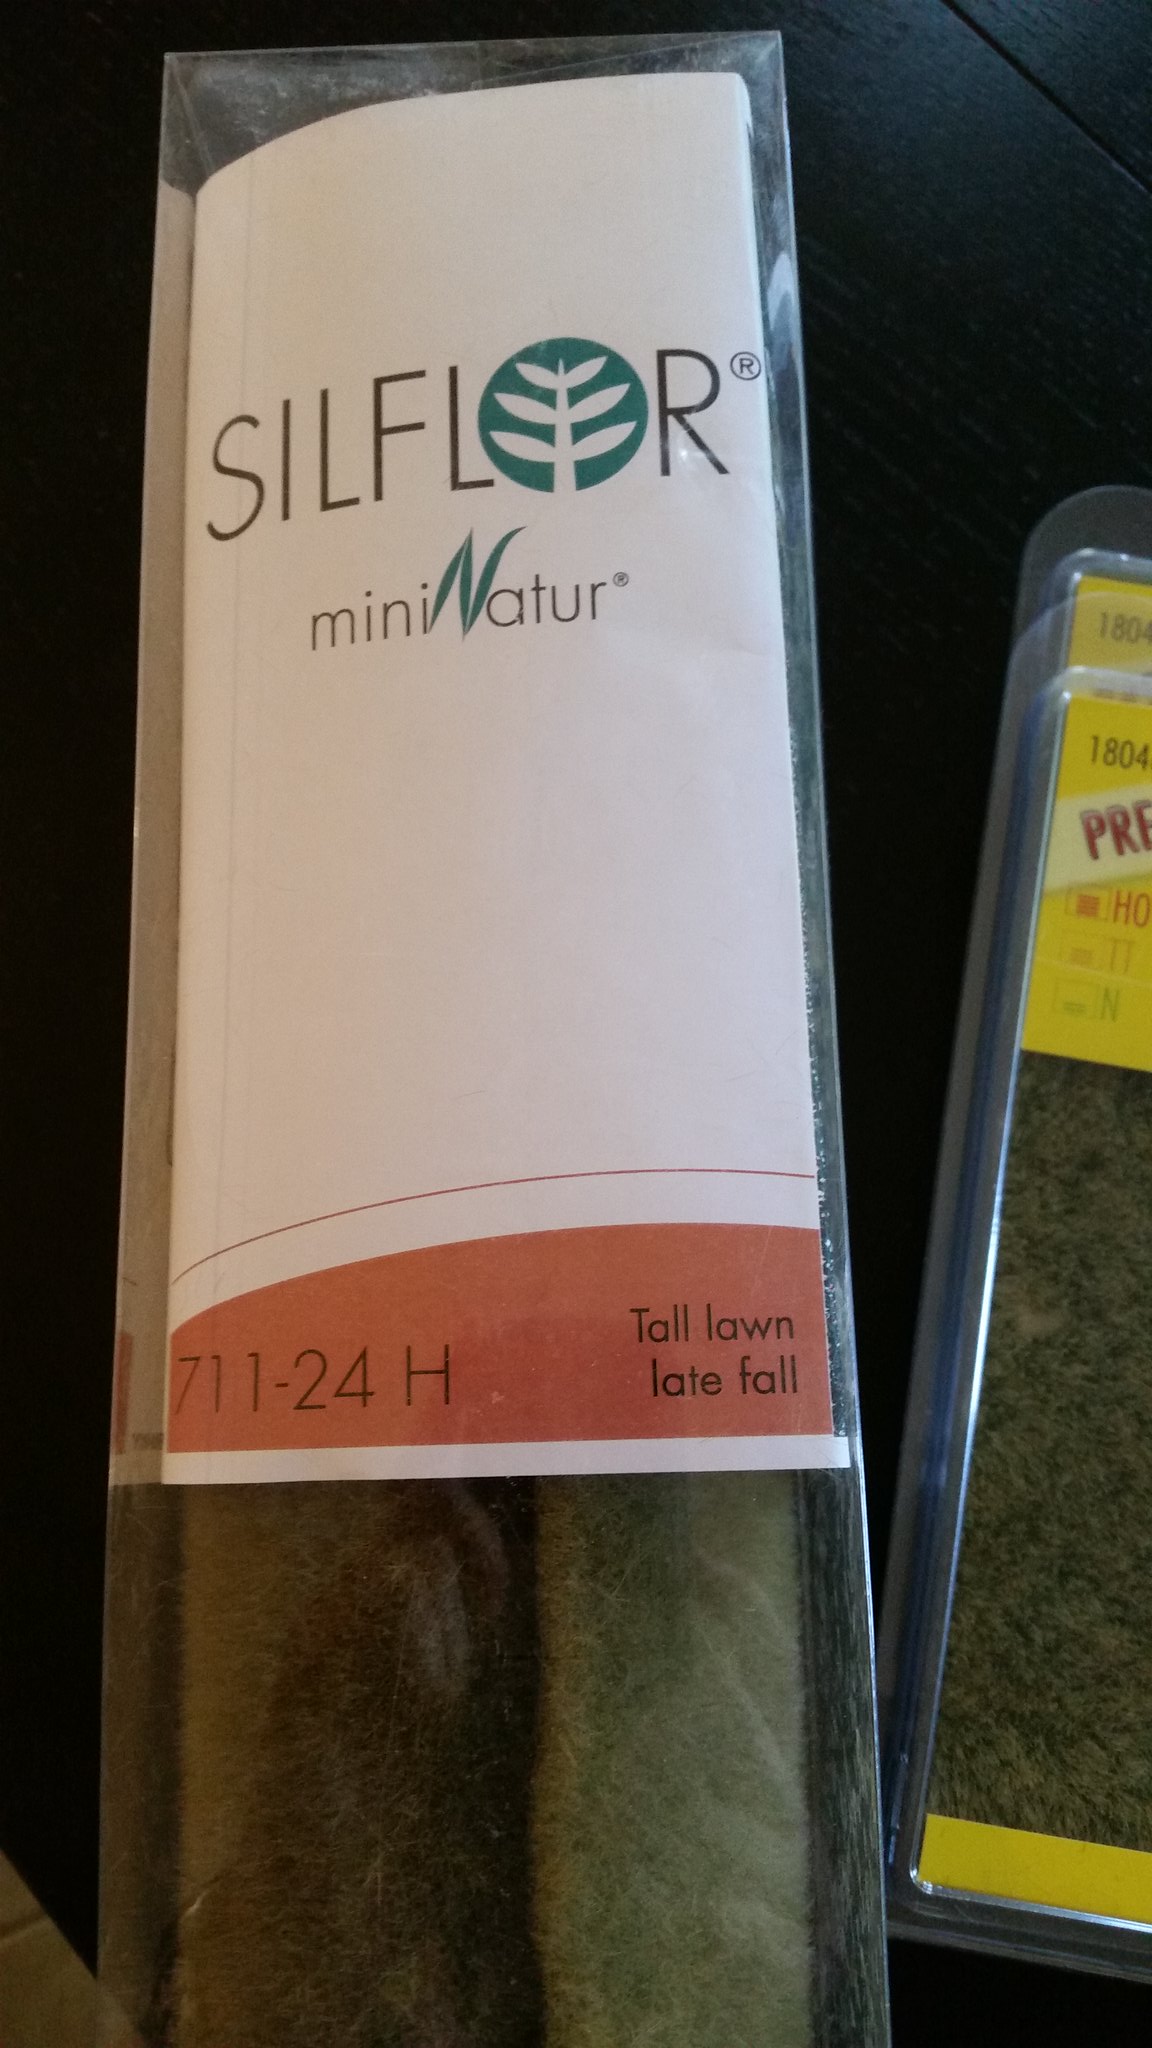
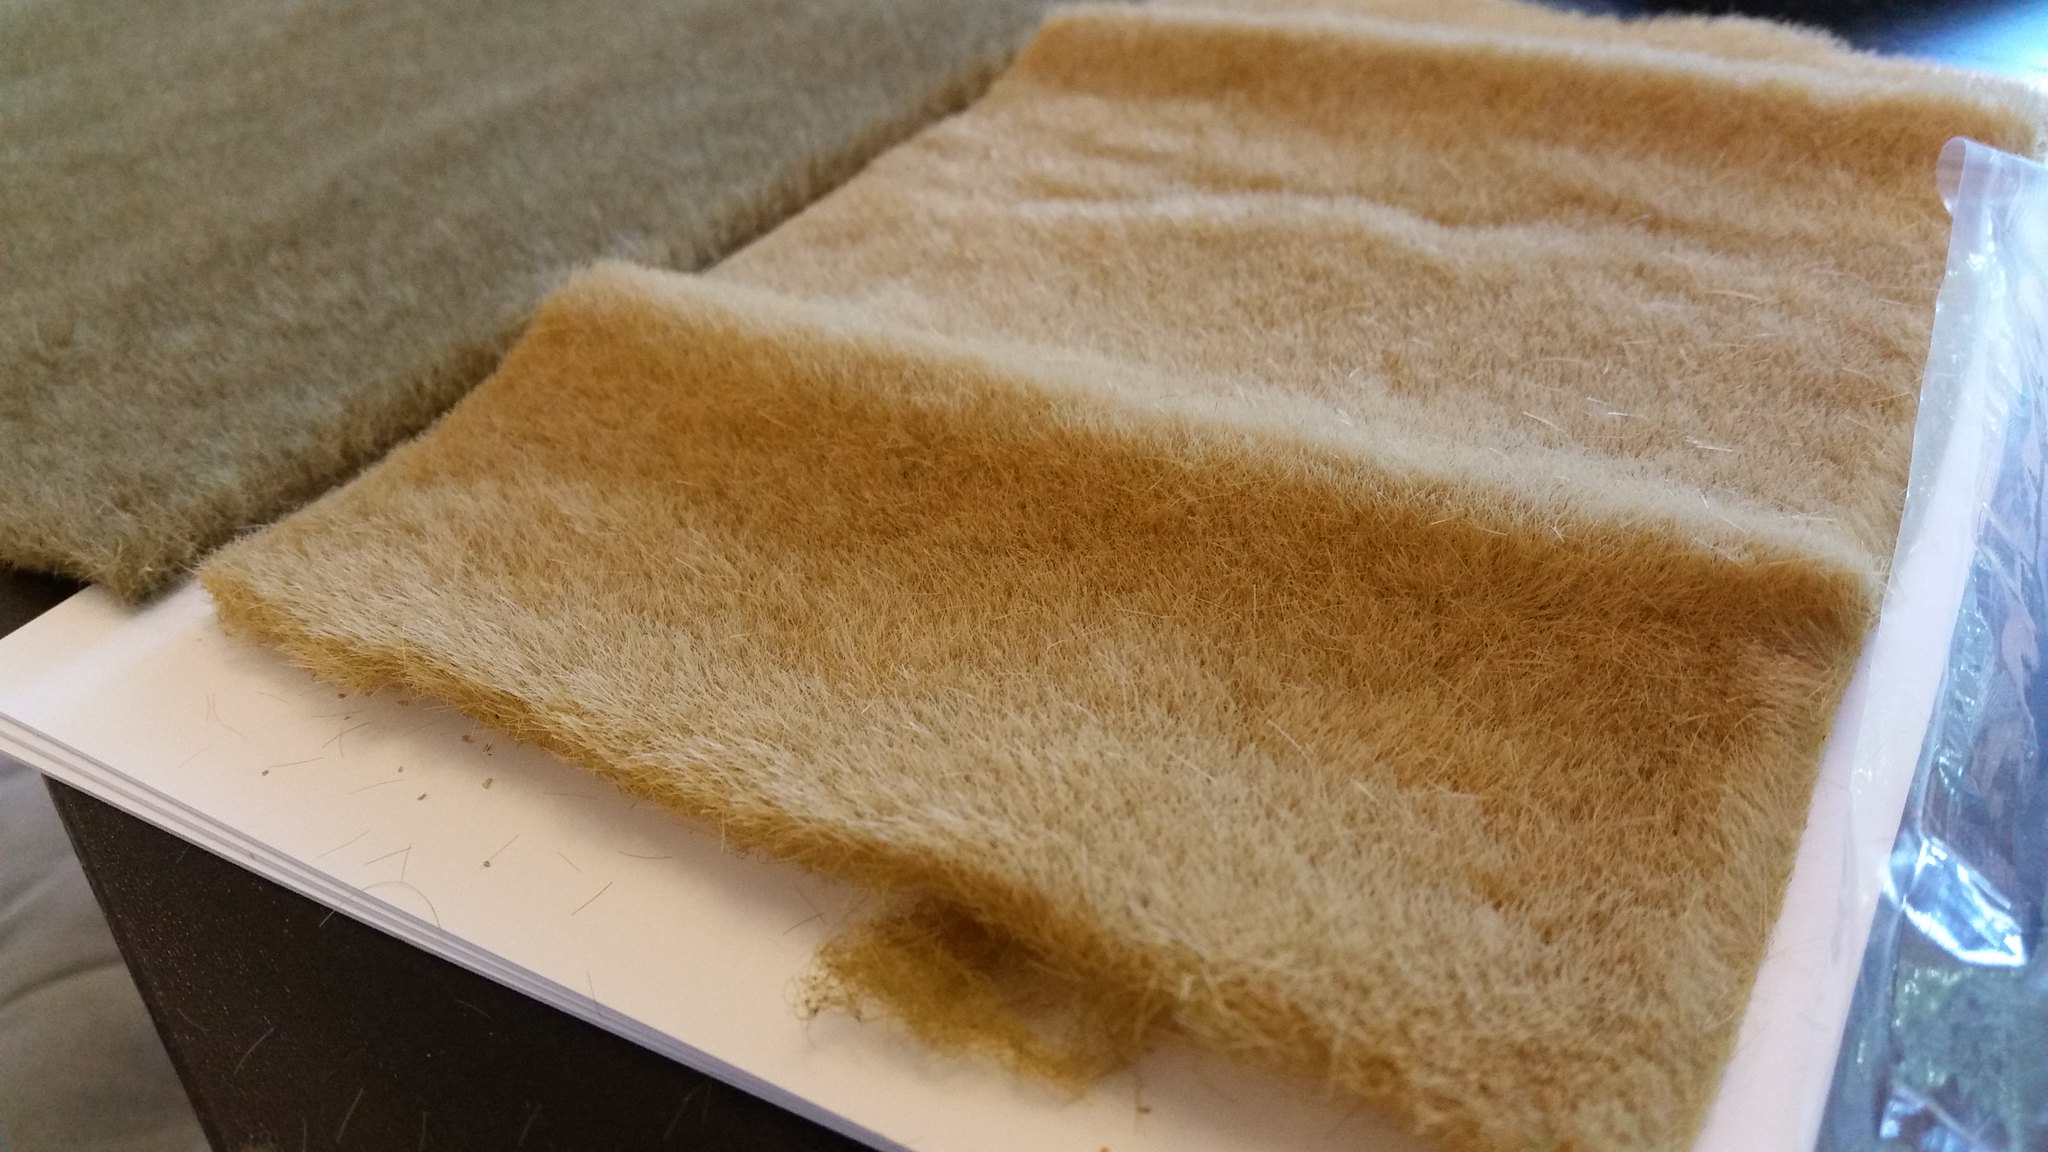
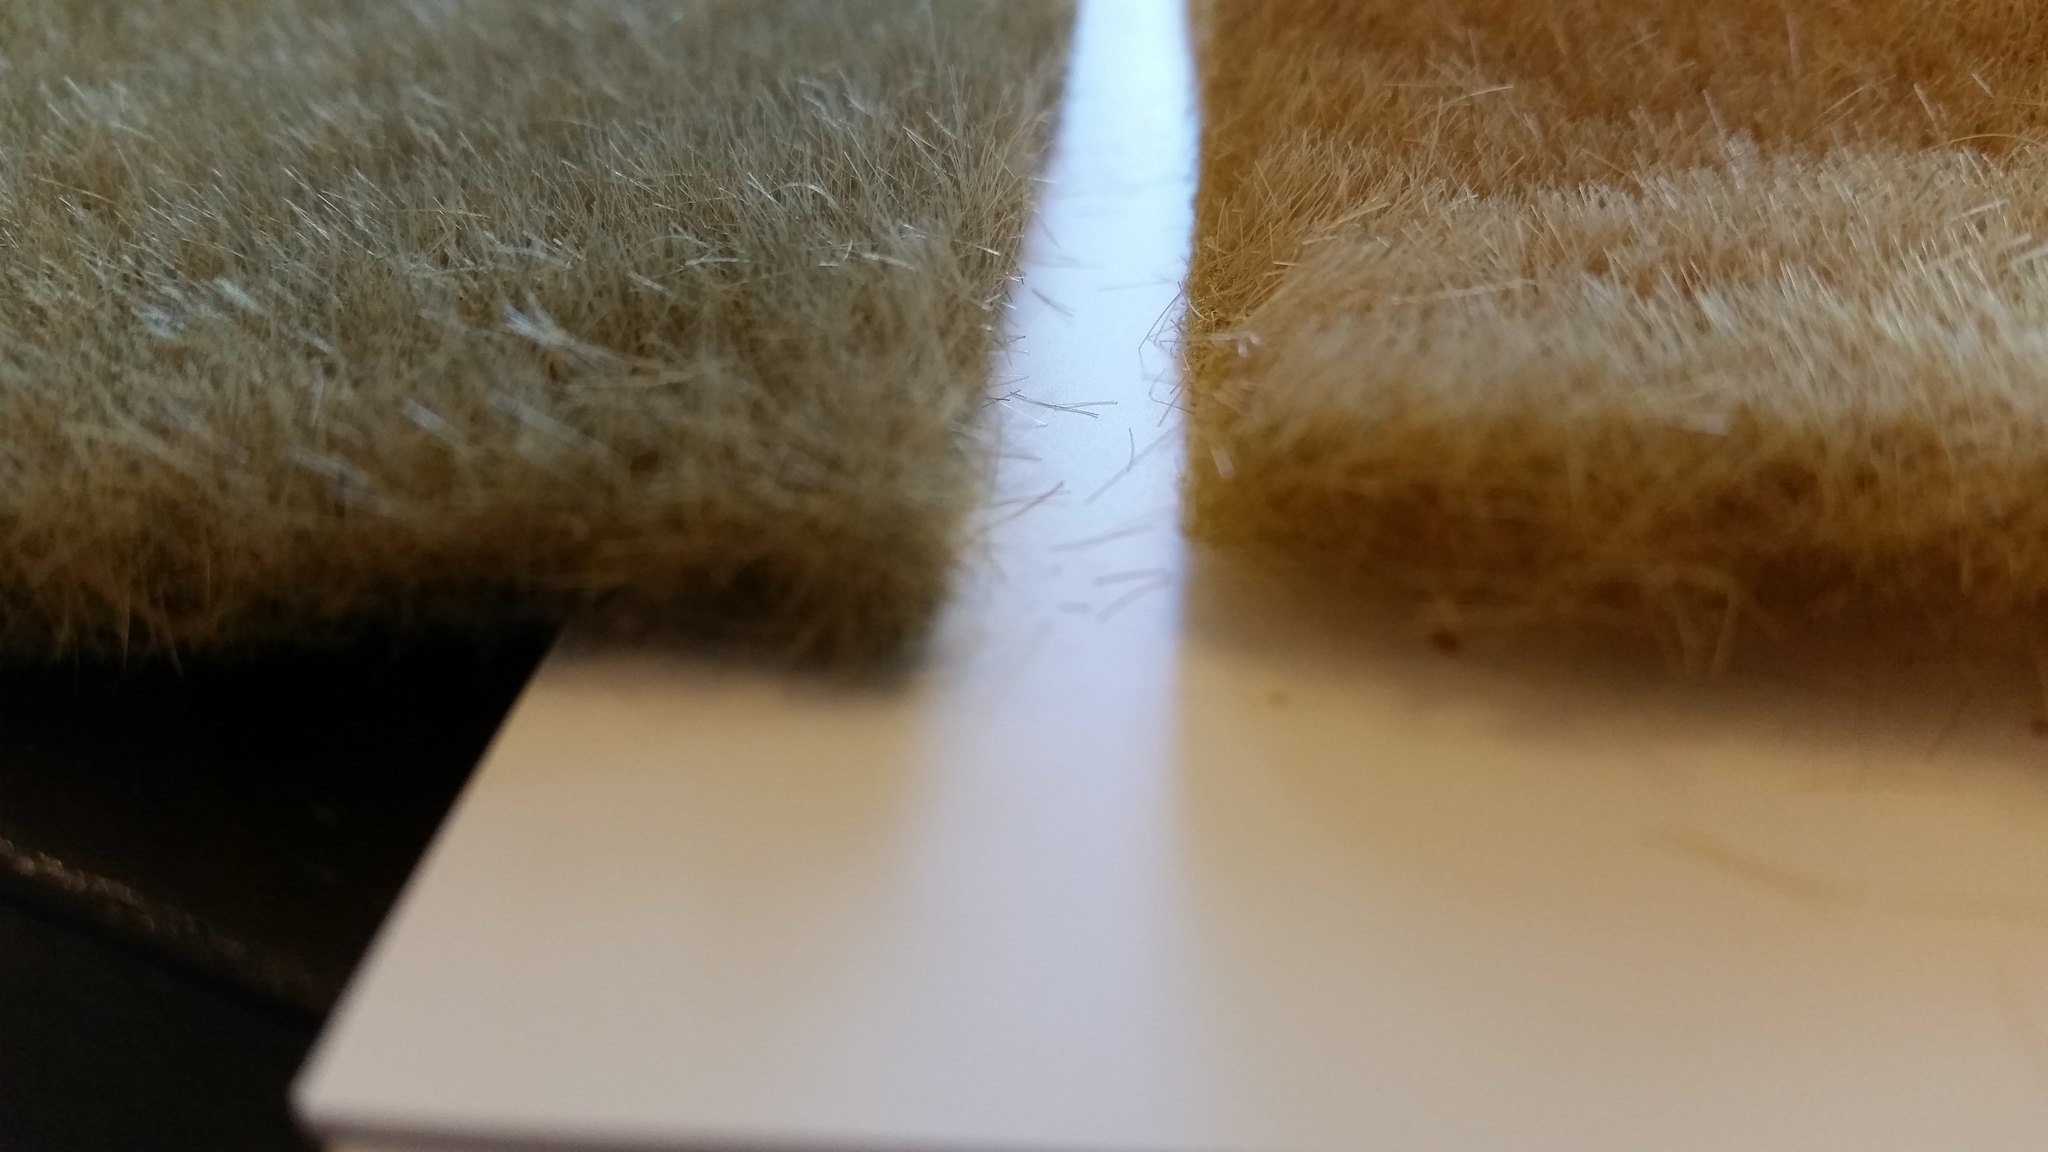
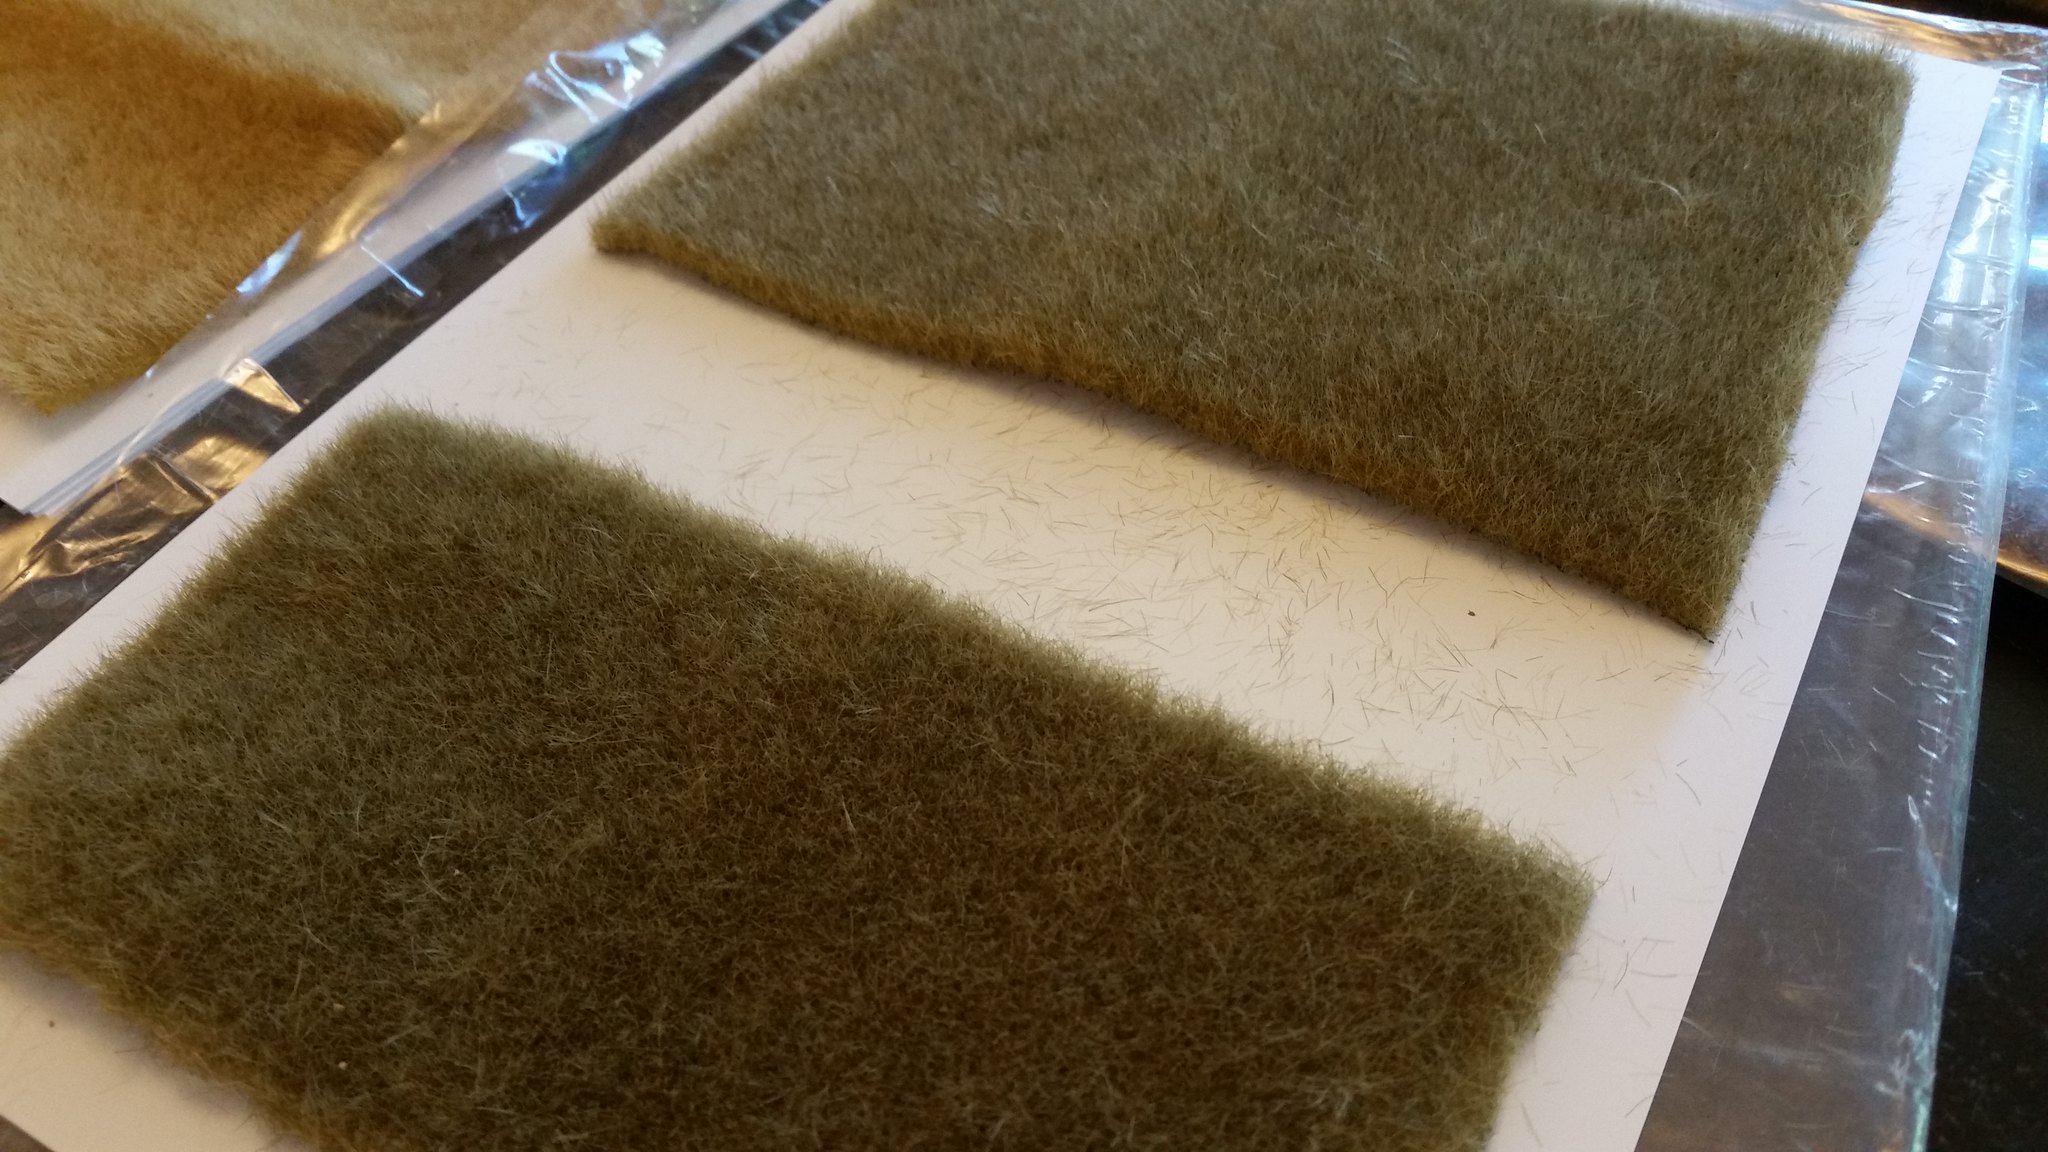
"I play a lot of 6mm, and only Warmaster in 10mm. For me, it made no
sense to buy 10mm terrain, so i continue to invest heavily in 6mm
terrain."
But the response I wanted to preserve for eternity was that of Gorrin of London:
"Returning to the OP, and to give the two-cents'-worth of input from a
(very) seasoned, middle-aged grand scale gamer (newbie to warmaster -
but experienced in 2mm, 6mm and 10mm in other rulesets)...well here
goes...
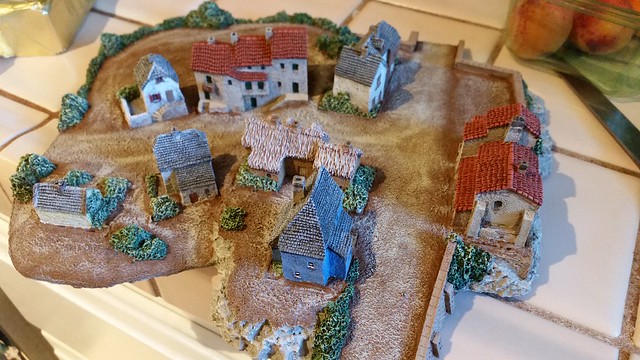
I would suggest for inspiration on some "diorama" type
boards you google images search for grand scale terrain master "Bruce
Weigle". His late 19th century boards are designed for the (small even
for 6mm) Heriocs and Ros range but are a great reference for any scale
up to 10-12mm. I believe he makes his buildings at around 60-70% of the
scale of the figures to give the grand scale impression. I think that's
about right. Scaling for 10mm I'd say that 6mm is about right, and that
10mm scenery is better suited to 15mm games. I agree with Kealios that
owning a lot of 6mm and then investing in another bunch of scenery in a
scale slightly larger (remember that most 6mm models are 6mm "foot to
eye" and that most WM models - especially the infantry - are on the
small side of 10mm) is fairly pointless. Total Battle Miniatures 6-7mm
Pike and Shotte range is very "oldhammer" in style and the large range
can be supplemented further with some of the Napoleonic range - the
Napoleon in Russia range fulfilling much of my Kislevite needs.
When
asked about the demise of Warhammer and "massed fantasy combat"
(writing for his regular column in Wargames, Soldiers and Strategy
magazine) Rick Priestley replied: "Massed combat? WFB is a 1:1 game with
a skewed groundscale! 120 dwarfs versus 150 orcs isn't massed
combat...it's a punch-up in a pub car-park!". I think that how we think
about scenery in WM game is a throwback to 1:1 games (WFB is what I'd
refer to as "large skirmish") where we are more comfortable with
buildings being roughly the same scale as the models, if you want to
think of your 30 WM orcs representing 30 orcs and 1 building
representing one building in WM then do so by all means...but I don't
understand why in those circumstances you wouldn't just play Warhammer
with a bit of command and control thrown in.
By its very nature
WM is a grand scale game representing massed combat with an emphasis on
command and control and which largely plays down the differences in
races emphasised in WFB. To play any game at grand scale requires you to
immediately get your head around the abstraction of what the
battlefield and the models represent. I think from Rick Priestley's
original introduction to the game he specifically references that a
3-base regiment represents around six-hundred troops with a five
frontage and 720 for those with six. Those of you with large armies,
represent this for spectacle sake on your table. It will take twenty
full regiments and sixty stands, two deep and thirty across to represent
a single regiment in a four-deep line formation in 1:1 scale. They will
take up a 1.2 metre frontage on your table. That is what your single
3-stand unit represents. Place a single 10mm scale cottage in front of
them, how many of those 600 troops are shielded by that cottage? The
regiment can no more claim a "cover" bonus or restricted LOS from that
building than you could take shelter from a musket volley by hiding
behind a tennis ball.
The truth is that in grand scale games,
most of your scenery is just that...scenery - and therefore just there
for show. It may sound counter-intuitive, but if you want to represent a
farm-house and a barn on a grand scale battlefield - it should not
really have any bearing on movement, shooting or LOS. A regiment would
not be able to shelter behind nor would they be able to hide behind
these buildings which compared to the footprint of the regiment would be
absolutely tiny. Likewise the regiment should be able to move through
the terrain feature without any penalty with the represented troops
affected by the building - maybe around five percent of them - simply
running to catch up with their comrades if they were slowed. Any set of
buildings whose real-to-scale size could not be imagined to be able to
fully obscure at least 200 troops (1 stand's worth) can be ignored. I
take a stand in line formation to be in real scale terms to be 4 ranks
deep so in dwarf terms that's 60 abreast (45 metres?), any obstruction
that I don't think is big enough to cover this size of frontage I ignore
as terrain feature.
What is important in grand scale games is
agreeing what terrain features ARE important and agreeing on them battle
to battle. In my experience the things you need to represent are:
Built
up areas - an area containing more than two or three houses from a
large hamlet, to villages, towns and parts of cities. The outskirts of
the built up areas should be clearly delimited (say with brown cloth and
buildings placed on them. The buildings themselves are individually
irrelevant (unless specifically required to be relevant such as a temple
etc) and the entire built up area should be treated as dense woods.
Main roads can exist through the built up area if the players wish but
units, must traverse them in column formation only (think I've see rules
for these in WM somewhere - something like all sides of a column count
as flanks and/or rear).
Woods and forest - as above, but with trees instead of buildings of course (!)
Specific areas of difficult ground - marshes, muddy ploughed fields (such as at Agincourt)
Specific
defendable obstacles - walls, ridgelines, sunken roads, earthowrks etc.
In these instances I am taking about specific and important defendable
battlefield positions only. For example, the stone wall at
Fredricksberg, the walls of Hougamont at Waterloo, the sunken road at
Antietam, the Pratzen Heights at Austerlitz.
Everything else
should have little if no effect, most hedges, gentle slopes (although
these may not provide a defendable bonus they may obstruct LOS), thin
treelines, small sections of wall, individual buildings or those deemed
not to represent "built up areas" as defined above.
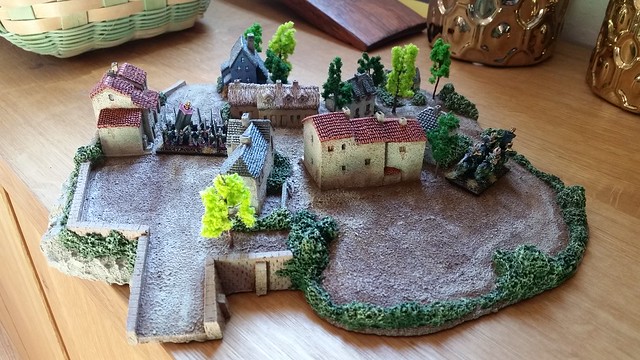
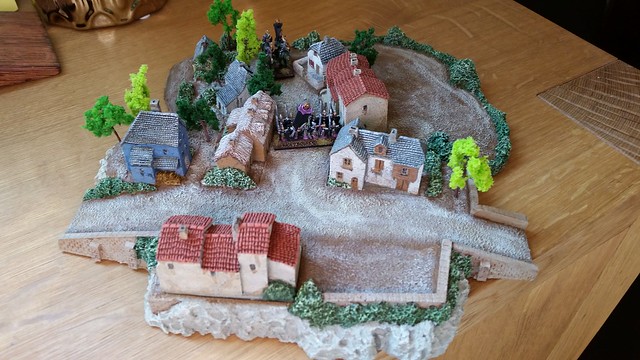
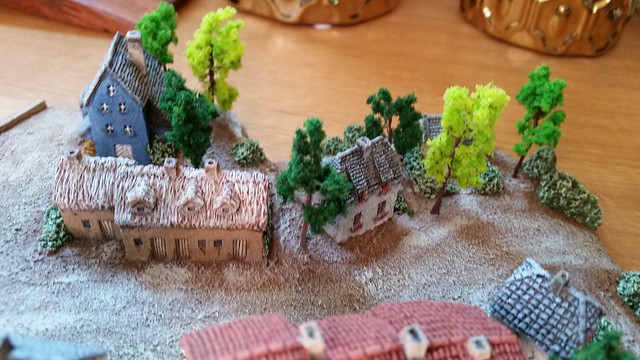
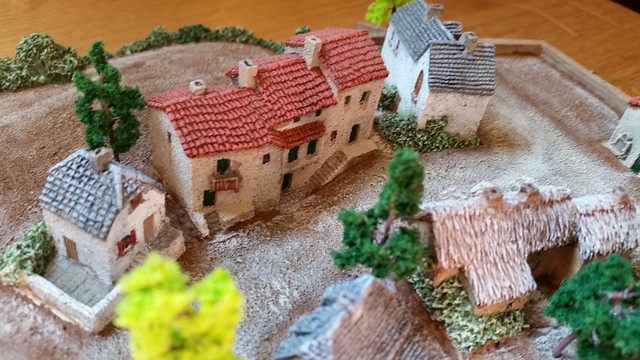
Sorry about
the epic post! I've probably previously bored all concerned with my ACW
terrain but I will try to take some pictures with WM figures to give you
an idea - you'll just have to forgive the obviously ACW buildings as I
don't have any WM 6mm buildings painted up!!
So for me...I prefer
6mm for 10mm games. Not least because I ignore most buildings the
bigger they are the more they get in the way! And also...the 6mm range
is massive compared to the 10mm ranges. Irregular miniatures even do a
set of metal roofs, doors and windows with pegs you can just push into
balsa to make your own. Of course scratch building buildings at this
scale in very easy as well compared to 28mm.
2-cents worth...I've spewed out a fool's fortune!!"
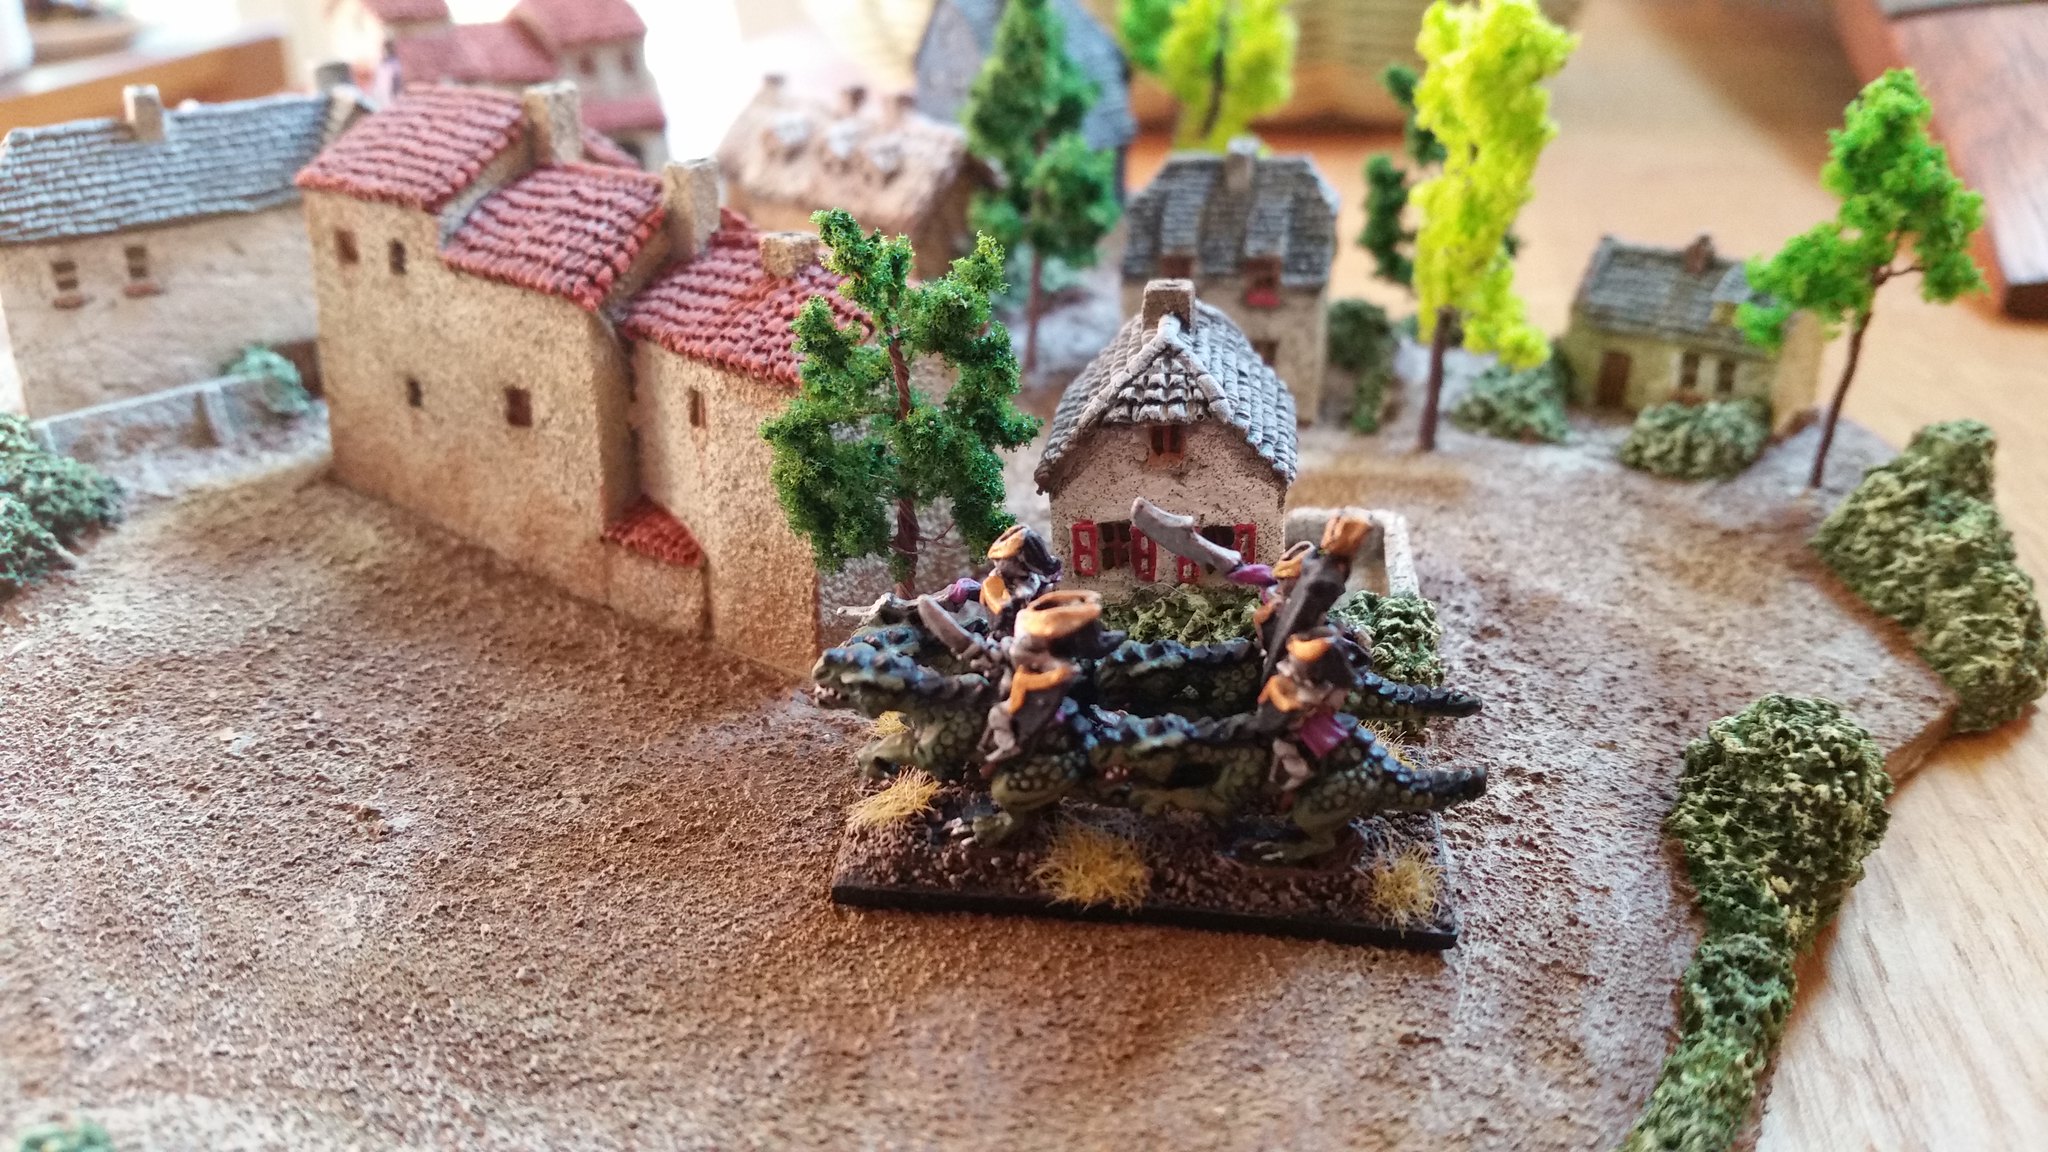
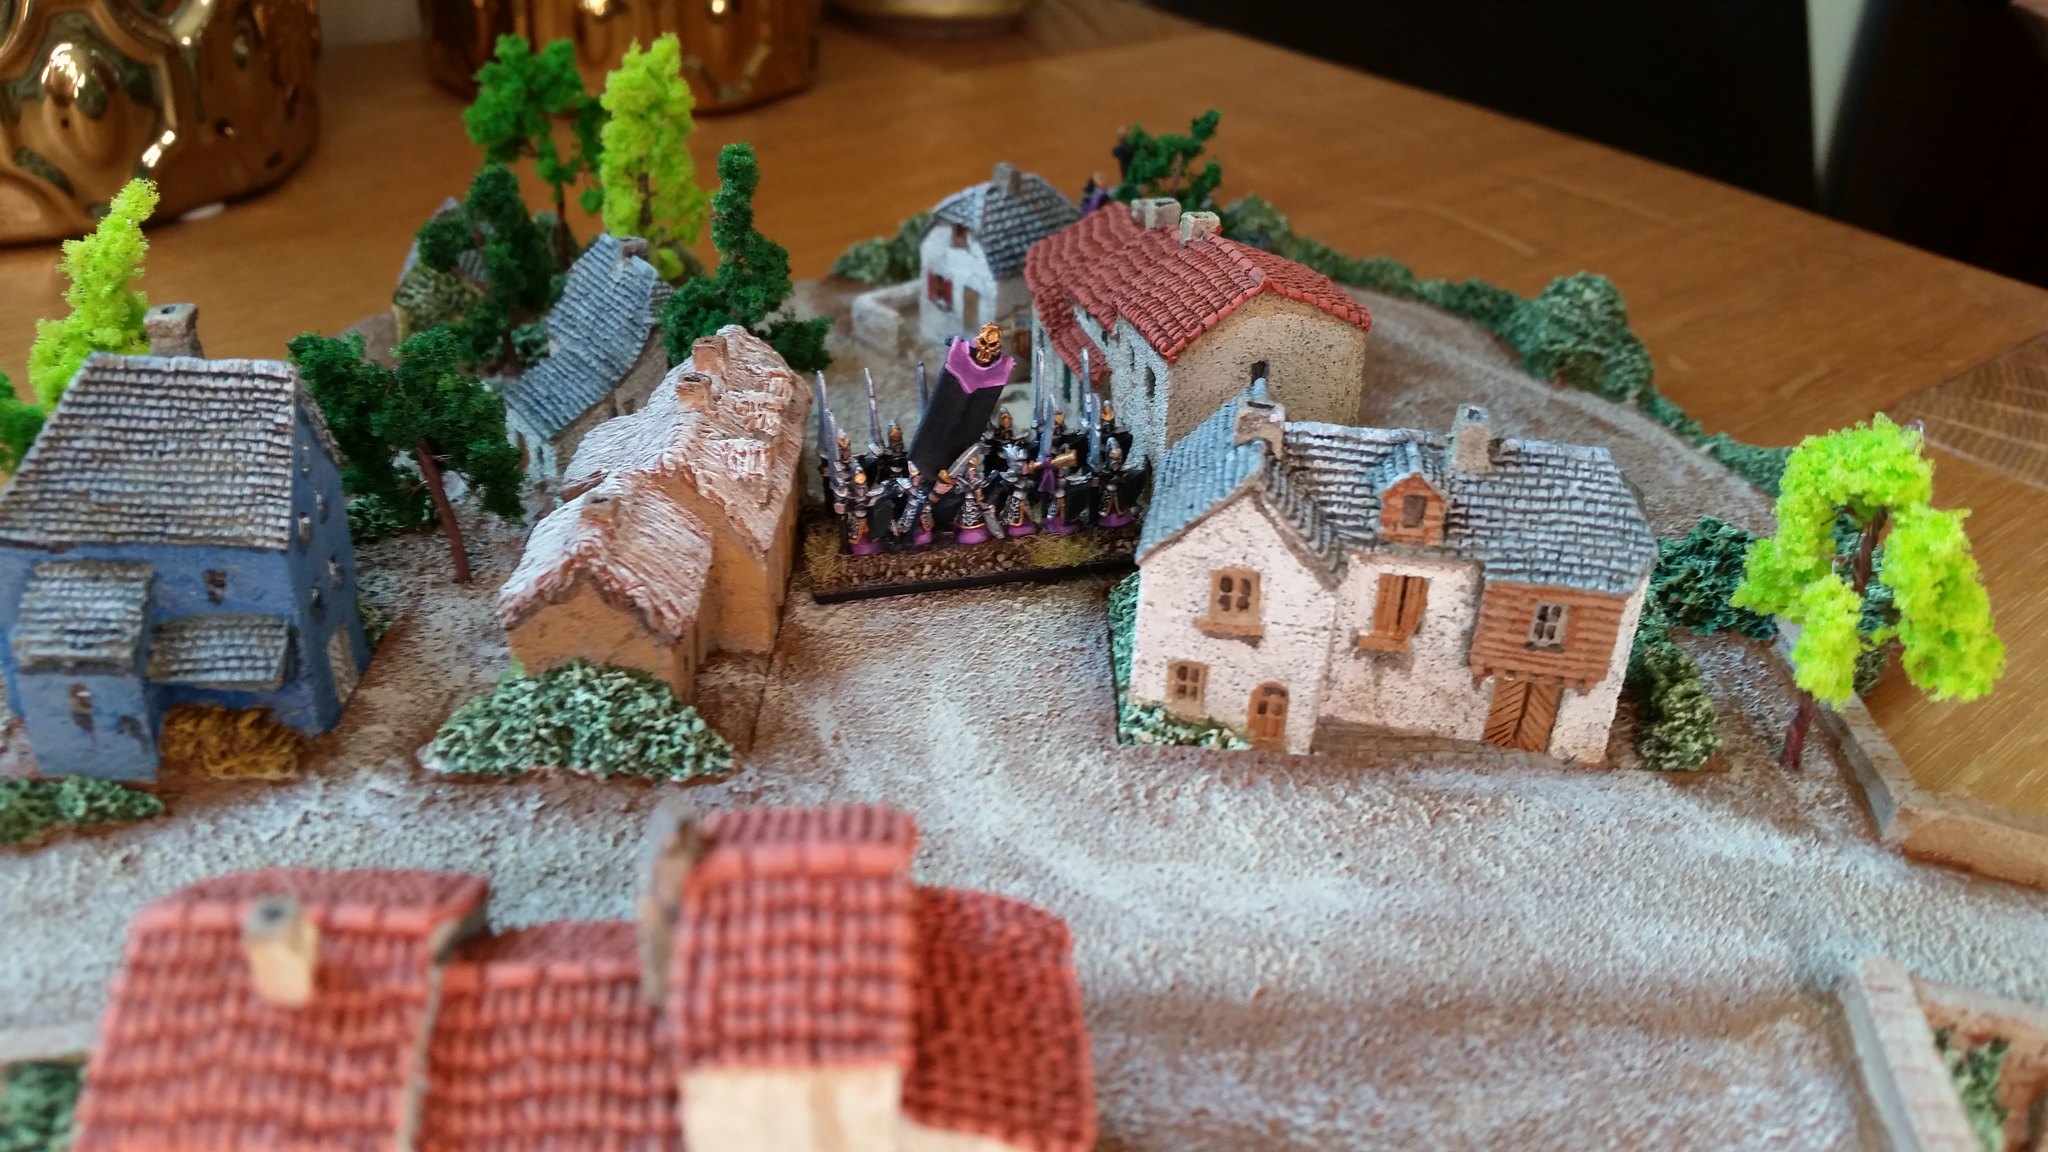
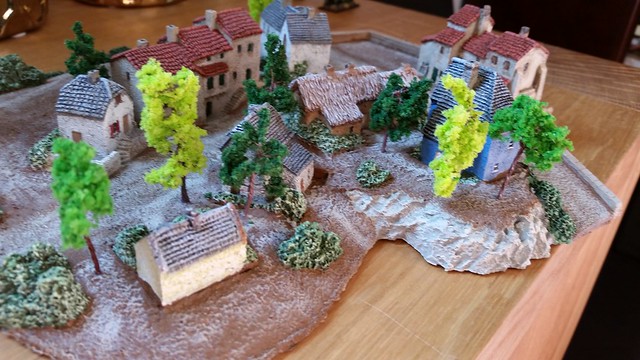
Hope this was informative! I've posted these before, but some 10mm Dark Elves in my TBM 6mm village...
About Me

- Kealios Achilles-Fang
- My name is Gavin McClements. I am a wargamer and family man, living in Los Gatos, which is a suburb of San Jose, CA. Building terrain is one of my favorite aspects of the wargaming hobby - in fact, lately I've become more interested in making my battlefields "pop" than in actually playing.
Showing posts with label 6mm Terrain. Show all posts
Monday, November 23, 2015
Saturday, November 21, 2015
Leven Miniatures Blacksmith in 6mm
Awhile back, I placed a fairly large order with both Total Battle Miniatures and Leven Miniatures for 6mm buildings for my Warmaster set. I irdered some more stuff from Leven again...and inquired as to whether he had anything for a Blacksmith.
I could have sworn I wrote about this, but damned if I could find it. Anyway...he was working on an item, and ended up sending me the very first sample...I was so excited!
So I finally got it painted up.
I know - I HATE blurry pictures too, but I just have my phone. I tried making a glowing forge, so I started with reds and oranges, put black over, drybrushed a grey over for coals, and then used the yellow ink to make a glowing effect. Effective? I doubt it, but it's the effort that counts :)
Lastly, many of Leven's buildings have huge blank spots where openings are. I understand why, but just painting them black doesnt seem right to me. I tried a really limited "3D effect", using basic 3 point perspective.
Ideally, it's look like anything from here:
http://sciencevibe.com/2015/05/04/chalk-it-up-to-an-optical-illusion/
but you know...
I could have sworn I wrote about this, but damned if I could find it. Anyway...he was working on an item, and ended up sending me the very first sample...I was so excited!
So I finally got it painted up.
I know - I HATE blurry pictures too, but I just have my phone. I tried making a glowing forge, so I started with reds and oranges, put black over, drybrushed a grey over for coals, and then used the yellow ink to make a glowing effect. Effective? I doubt it, but it's the effort that counts :)
Ideally, it's look like anything from here:
http://sciencevibe.com/2015/05/04/chalk-it-up-to-an-optical-illusion/
but you know...
Sunday, August 2, 2015
6mm Wheat Fields
I've been on a kick lately to make my battlefields look, well, REAL, I guess. I'm quite obviously a train modeller in disguise, except I don't really give a damn about trains going round in circles :)
http://theminiaturespage.com/boards/msg.mv?id=380837 is a thread I started on TMP asking for some advice. I wanted to replicate things like this into my landscape:
Busch makes something like this, but I havent found it in the US yet. http://www.amazon.co.uk/gp/product/B0002OHBB0?psc=1&redirect=true&ref_=oh_aui_detailpage_o00_s00
This was recommended in the above thread, and really kicked off my hunt.
I did eventually find this Faller product, and purchased two. I originally found it here:
http://www.rocousa.com/faller_180465_premium_landscape_segment_wild_grass_meadow.asp
They were $14 USD each, and I added tracking since I wasn't sure about the reseller, but everything arrived and they look amazing (albeit small, 6"x8"). Expensive but nice...I'll likely base one as is, and cut the other one up for small yards, etc in 6mm.
http://theminiaturespage.com/boards/msg.mv?id=380837 is a thread I started on TMP asking for some advice. I wanted to replicate things like this into my landscape:
Busch makes something like this, but I havent found it in the US yet. http://www.amazon.co.uk/gp/product/B0002OHBB0?psc=1&redirect=true&ref_=oh_aui_detailpage_o00_s00
This was recommended in the above thread, and really kicked off my hunt.
http://www.rocousa.com/faller_180465_premium_landscape_segment_wild_grass_meadow.asp
They were $14 USD each, and I added tracking since I wasn't sure about the reseller, but everything arrived and they look amazing (albeit small, 6"x8"). Expensive but nice...I'll likely base one as is, and cut the other one up for small yards, etc in 6mm.

I finally got most of the product in and took some side-by-side shots of what I had found. The group shot (I sprinkled some US quarters about for size comparisons):

The fields on the right are from Scenic Express: http://www.sceneryexpress.com/SMALL-FURROW-PLOWED-FIELD/productinfo/BH7183/
The cornfield in the middle front is http://www.sceneryexpress.com/NATURE-PLUS-WHEAT-FIELD/productinfo/NH07421/
The big box in the top left is http://www.sceneryexpress.com/SILFLOR-4MM-MEDIUM-AUTUMN-LAWN/productinfo/SF71124/

Below, you can see the Ziterdes mat. It was wrapped in on itself, so I am STILL trying to get the bends out.

The Silflor mat is on the left, below, with the Ziterdes product on the right. You can see how almost identical they are.
The Silflor sheet cut so easily with scissors. Here it is resting on some 1mm polystyrene sheeting - and you can see how much it sheds!

Of course, I didnt realize at the time, but Ziterdes is made in conjunction with Noch - and I wager I paid a bit more for the gaming application. Still, the Silflor product is as good as I could have hoped for. My only real complaint about the Silflor is the color - I would have liked it a bit more golden wheat colored, like the Ziterdes one, but alas, it'll do.
I am waiting on some 6mm stone walls to arrive from Leven Miniatures, after which I'll get some of these based up, but I am happy with what I see so far. The only California Gold fields I see like that Silflor one are in 6mm height...thats a bit tall, I think.
Monday, July 6, 2015
6mm Total Battle miniatures 100 Days buildings
I have always loved 6mm stuff, even if I didnt know it (I started with Battletech back in 1986!). As I've gotten older, my love has remained, but now I like more expensive stuff (go figure).
As I've been exploring 10mm fantasy, I have read numerous times that people use 6mm terrain and it works fine, since the ground scale isnt the same as the model scale. With that in mind, I invested pretty heavily into Total Battle Miniatures and Leven Miniatures 6mm lines. I intend to use these with Warmaster and Mayhem, specifically, but they'll also flesh out my 6mm sci-fi tables as needed. That's why I went the Napoleonic route - you can see this stuff across Europe still, and it wouldnt be so out of place with grav tanks floating by.
Here is my version of the Hill Town Tile 1 found here. Because I dont do historical gaming, I mix and match as I see fit; I looked into colors, but not extensively. Let me apologize for my photography. I HATE blurry photos, but some of these are.
This is the final painted version without any trees added. I will be flocking the appropriate areas as soon as the extras I have on order from Perfect Six arrive (wells, crates and barrels, etc).
I decided to add some trees here and there. I used a pin vise to drill into the resin, and superglued the trees in. The medium and dark green trees were from eBay vendors. The three light green ones were new from Leven Miniatures - since I love color variety, I was happy to get these in the 50mm variety.
With the GW Warmaster Dark Elf models in the town, I think they'll be fine on the table. Yes, there is a size discrepancy, but it isnt staggering (at least to my eyes), and I plan on moving forward with the 3 dozen other buildings I have :)
PS: 3/19/2016 Check out Michael Stockin's amazing version of this town on TWW!
As I've been exploring 10mm fantasy, I have read numerous times that people use 6mm terrain and it works fine, since the ground scale isnt the same as the model scale. With that in mind, I invested pretty heavily into Total Battle Miniatures and Leven Miniatures 6mm lines. I intend to use these with Warmaster and Mayhem, specifically, but they'll also flesh out my 6mm sci-fi tables as needed. That's why I went the Napoleonic route - you can see this stuff across Europe still, and it wouldnt be so out of place with grav tanks floating by.
Here is my version of the Hill Town Tile 1 found here. Because I dont do historical gaming, I mix and match as I see fit; I looked into colors, but not extensively. Let me apologize for my photography. I HATE blurry photos, but some of these are.
This is the final painted version without any trees added. I will be flocking the appropriate areas as soon as the extras I have on order from Perfect Six arrive (wells, crates and barrels, etc).

I decided to add some trees here and there. I used a pin vise to drill into the resin, and superglued the trees in. The medium and dark green trees were from eBay vendors. The three light green ones were new from Leven Miniatures - since I love color variety, I was happy to get these in the 50mm variety.


With the GW Warmaster Dark Elf models in the town, I think they'll be fine on the table. Yes, there is a size discrepancy, but it isnt staggering (at least to my eyes), and I plan on moving forward with the 3 dozen other buildings I have :)
PS: 3/19/2016 Check out Michael Stockin's amazing version of this town on TWW!
Friday, May 15, 2015
Making Trees - inspiration
Now that my bocage project is done, I want to make more trees to round out my table. I actually own more than I can use, but colors, man, colors! So many tables are drab...and Spring and Fall (and heck, even summer!) offer such natural beauty!
As there are more ways to make trees than there are rulesets to play in 28mm...
I did some research, as always, and finally decided that these two videos were what I wanted to replicate. The first is by an Aussie (?) who is clearly a master woodworker and into making terrain "on the cheap". The second is a more conventional project.
I made the jig from the first video for pines, and hand-twisted wire trees to replicate the second. I hope to have something to show soon.
As mentioned, there are so many other worthwhile tutorials out there - here are a few more.
This is a great option for Wargaming trees, as opposed to some of the more complex "train terrain" versions out there:
http://www.beastsofwar.com/terrain/terrainscaping-awesome-tabletop-trees/
This is a neat series about one modeler's attempt at trees
http://troubleatthemill.blogspot.com/2012/11/into-woods-part-1-bases.html
http://troubleatthemill.blogspot.com/2012/11/into-woods-part-2-undercoat-and-scatter.html
http://troubleatthemill.blogspot.com/2013/01/into-woods-part-3-foliage.html
http://troubleatthemill.blogspot.com/2013/01/into-woods-part-4-more-ways-of-sticking.html
http://troubleatthemill.blogspot.com/2013/01/into-woods-part-4-slight-digression.html
http://troubleatthemill.blogspot.com/2013/01/into-woods-part-6-another-slight.html
http://troubleatthemill.blogspot.com/2013/04/into-woods-part-7-willow-trees.html
http://troubleatthemill.blogspot.com/2013/04/into-woods-part-8-magic.html
A simpler blog:
http://paint-forge.blogspot.com/2015/04/how-to-home-made-trees.html
This link has a really cool way of making trees from aquarium plants - he wrote it for 15mm:
http://18charlie.com/15mm-trees-part-one/
This gent in the UK models for 28mm, but his scenery is gorgeous:
http://wargamingwithsilverwhistle.blogspot.com.ar/2015/05/trees-orchards-buildings.html
These guys do a cool series of How-To's - the 6mm version is featured further down:
http://www.architectsofwar.com/Howto/BigTrees.pdf
A really good option that uses steel wool (I tracked this one down after reading the one above...)
http://archive.brushthralls.com/terrain/tree-templates.html
This is more for dioramas, but the concepts are the same - and since I'm currently working on a diorama for my wife, well...
http://fantasygames.com.pl/blog/making-trees-tutorial/
And for realism over usefulness:
http://www.fcsme.org/bcarl/how_to_make_scenic_express_supertrees.htm
Some articles scaled specifically for 6mm, or for "Canpoy"-style groves:
http://www.6mmacw.com/forests.html
http://www.architectsofwar.com/Howto/forests.pdf
http://1000footgeneral.blogspot.com/2011/06/megawood.html
http://verytinywars.blogspot.com/2014/11/making-3mm-forests.html
.
Building 6mm Bocage Hedgerows with popsicle sticks and clay, Part 2
A quick link to Part 1.
Before I show you the rest of my project, let me say that I love seeing new products, and Shawn Morris at the Terrain Studio has some very cool Youtube tutorials (his latest seems to be this amazing WW2 European field for 15mm; see below).
Skip to 2:30 to see a walkthrough of some items from Scenic Express that look like they might be fun to use. 4:20 is where he talks about the plowed fields - I bought 2 on this recommendation and am looking forward to seeing them in action.
Back to the Hedges!
Here are the Hedgerows with 2 layers of paint: Beastial Brown and Graveyard Earth. The third, lighter color was Country Tan by Apple Barrel - I've never really been happy with the highlight color to go onto the Earth color. Khaki was recommended to me, but this was what I had on hand. I also hit the scouring sponges with a bit of English Ivy color, also from AB.
The English Ivy, once dried, barely showed. I hope to go back with a lighter Leaf color just as an accent.
Before I show you the rest of my project, let me say that I love seeing new products, and Shawn Morris at the Terrain Studio has some very cool Youtube tutorials (his latest seems to be this amazing WW2 European field for 15mm; see below).
Skip to 2:30 to see a walkthrough of some items from Scenic Express that look like they might be fun to use. 4:20 is where he talks about the plowed fields - I bought 2 on this recommendation and am looking forward to seeing them in action.
Back to the Hedges!
Here are the Hedgerows with 2 layers of paint: Beastial Brown and Graveyard Earth. The third, lighter color was Country Tan by Apple Barrel - I've never really been happy with the highlight color to go onto the Earth color. Khaki was recommended to me, but this was what I had on hand. I also hit the scouring sponges with a bit of English Ivy color, also from AB.
As you can see, the sand that I sprinkled on during the clay phase is mostly still there. The primer I painted on was quite thick, and basically glopped it on. The rocks are highlighted with 2 colors of gray.
Finally, the fun part. I mixed up a few different colors of flock, including Woodland Scenic's Green Grass, and some tans, browns, and an Earth mix. A 50/50 water/PVA solution is the usual suspect here:
The English Ivy, once dried, barely showed. I hope to go back with a lighter Leaf color just as an accent.
You can clearly see that there was indeed shrinkage with the clay, and it is evident on many of the ends of the hedgerows. This is probably the most frustrating part of the project for me. It is certainly something I can live with, but it is there nonetheless.
The other thing is that I made some of the berms very narrow. This worked artistically, but when it came time to add the clump foliage, didnt give me a lot of room to balance some of the pieces very well. Still, it turned out OK, I think. See for yourself:
As I ran the Hob-e-Tac along the berms and let it sit, I started sorting the clump foliage. When you pull the pieces out of the package (or the bins I keep them in, in my case), there are all sorts of dingledangles and gribbly bits hanging off them. I pulled a lot of this off and made three piles: bigger pieces (for where the berms were flatter or wider and could accommodate a larger piece), small bits (for the narrower spots), and the leftovers (for filling in places, or covering left over glue bits).
Here are some 15mm scale shots, with models from Khurasan:
Here are some 6mm scale shots, with bits from my Eldar Epic collection:
Of course, some obligatory storage shots:
There you go. I cannot wait to get them onto the table!
ps another blog of a similar project:
Subscribe to:
Posts (Atom)