As promised, I put together a scenario this week and gave Tomorrow's War a second shot last night. I was inspired by the fact that another blog found life in their second game, and with what I hoped was a firmer understanding of the rules, I hoped for a similar experience.
The scenario is called Foot Patrol Ambush, and can be found HERE. It basically entails a raiding group coming back from another successful sabotage when they are pounced upon by a waiting group of ambushers. Their sole desire is to flee and exit the board safely, but beset by attackers, there is plenty of mayhem to go around.
The Ambushers, called Blue Force, set up 3 fireteams of 5 soldiers in various hiding spots, and also received a Medium Machine Gun team and a Sniper team. The beleagured team, Red Force, is heading north along a trail that they must stick to until the ambush is revealed.
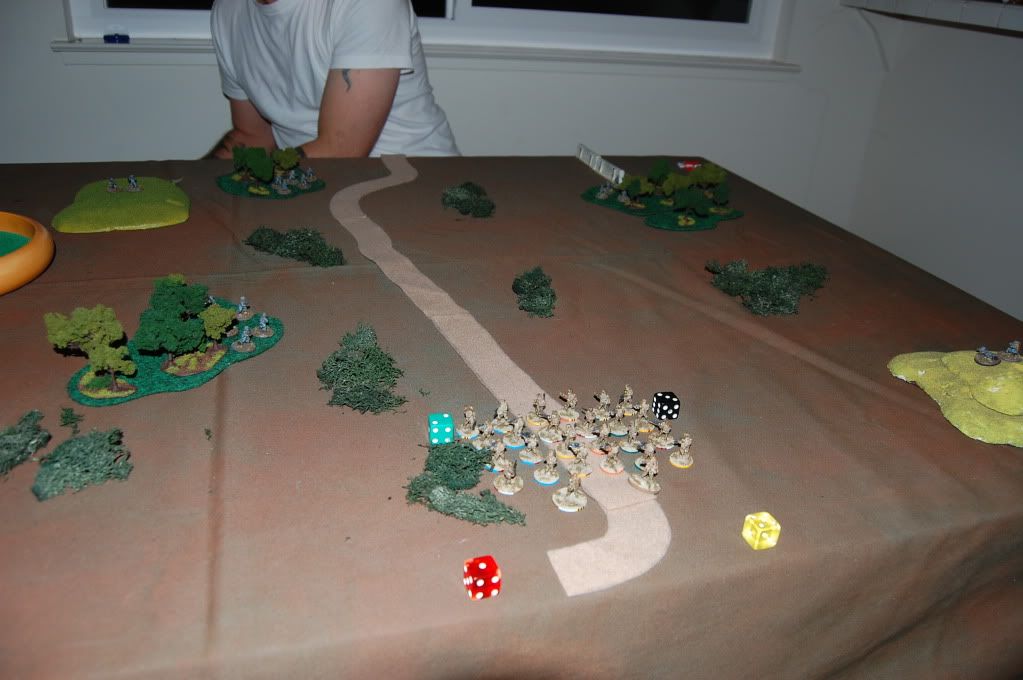
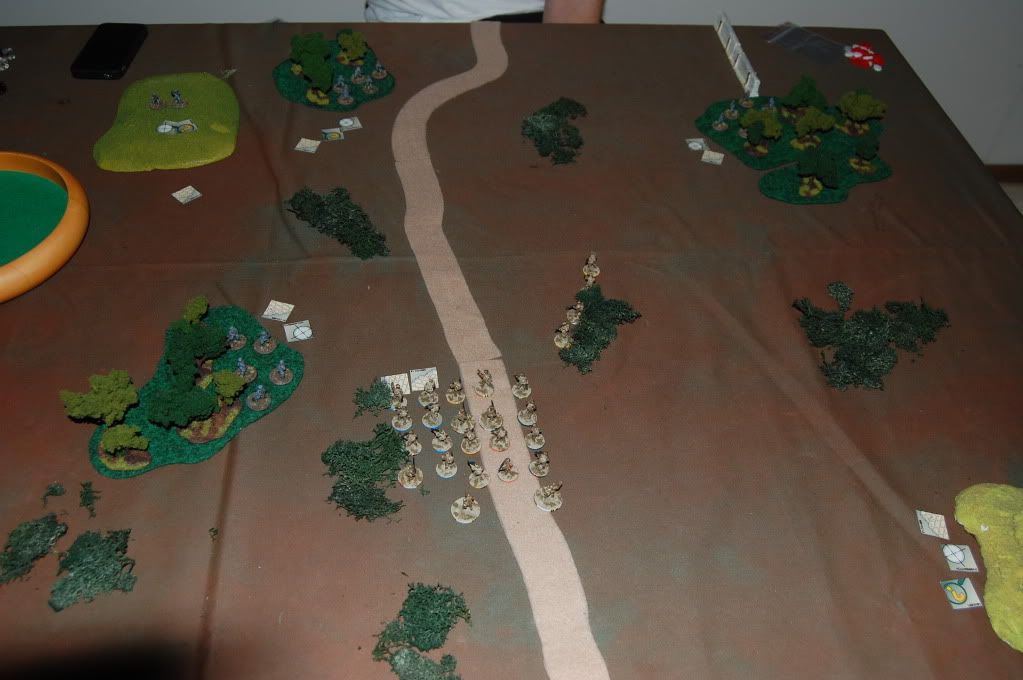
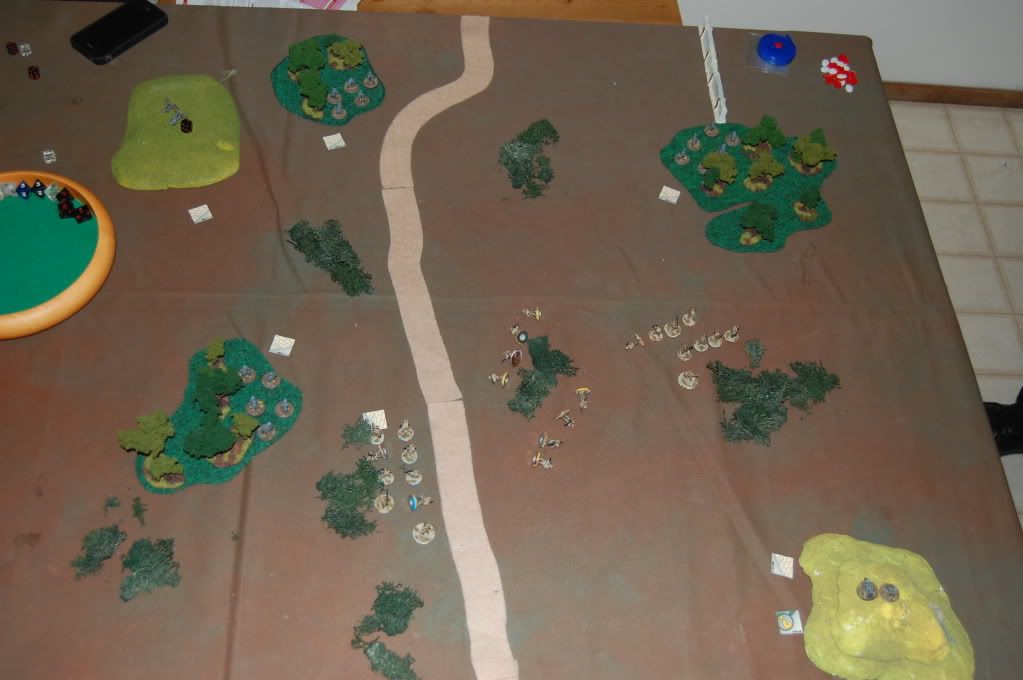
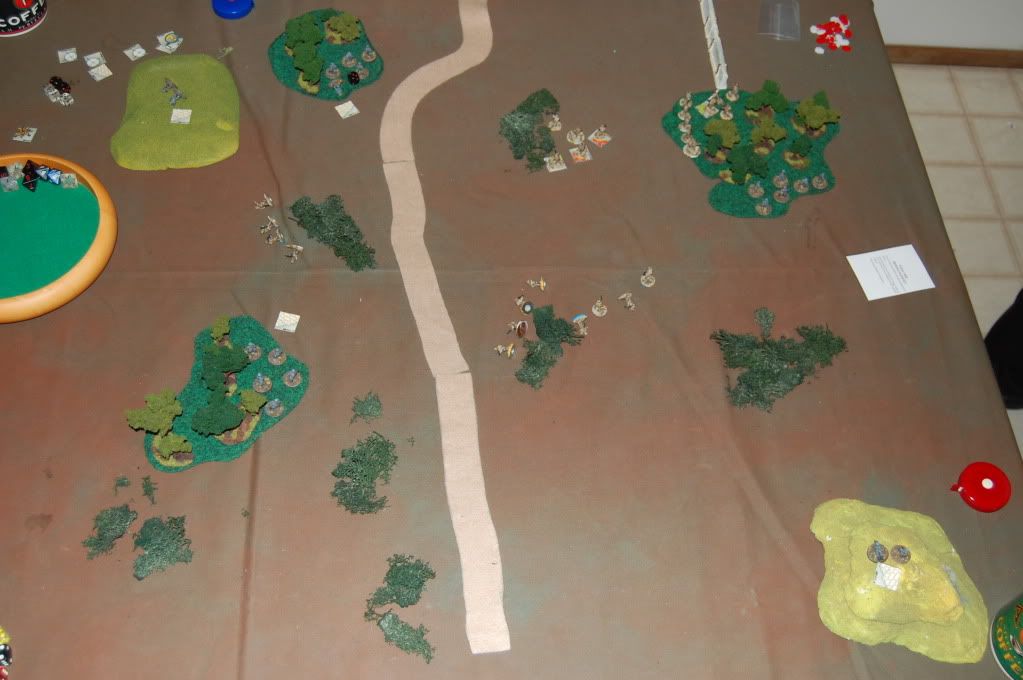
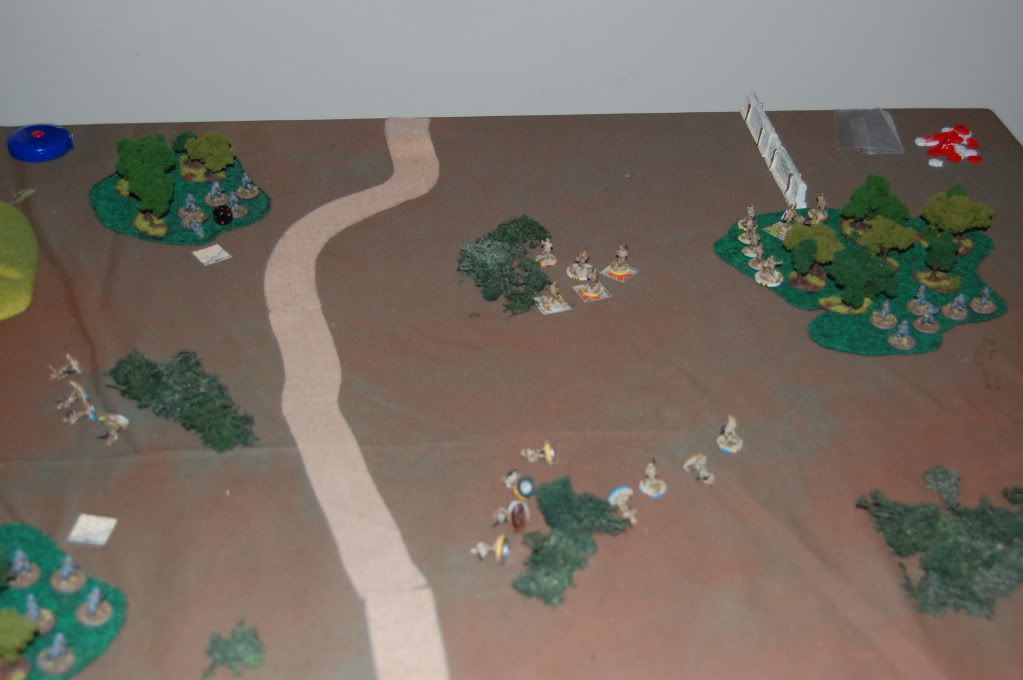
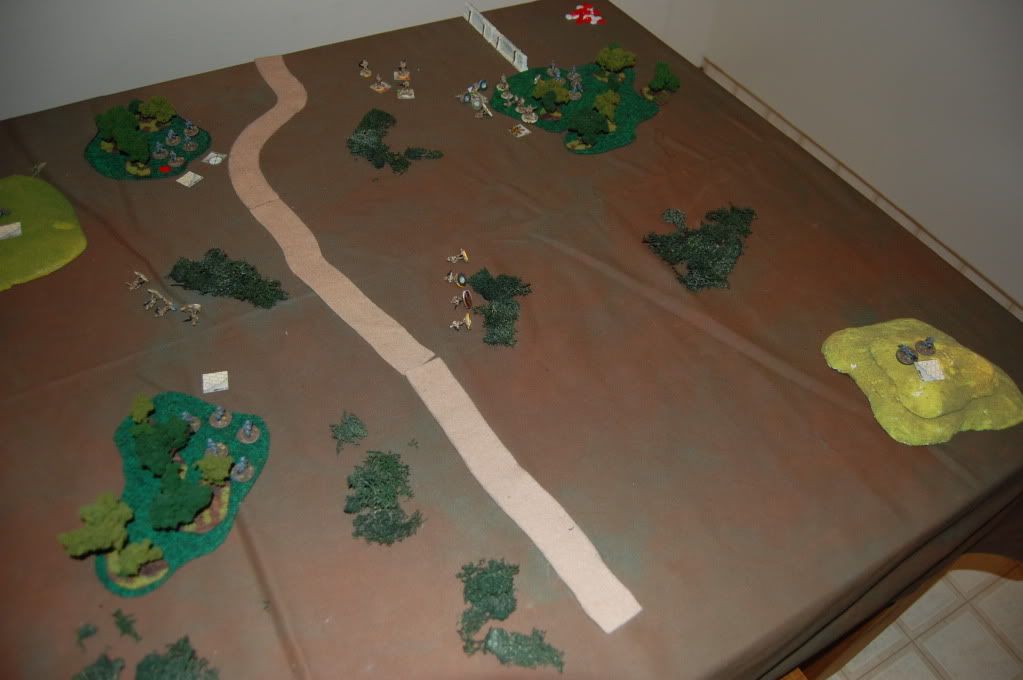
The setup:
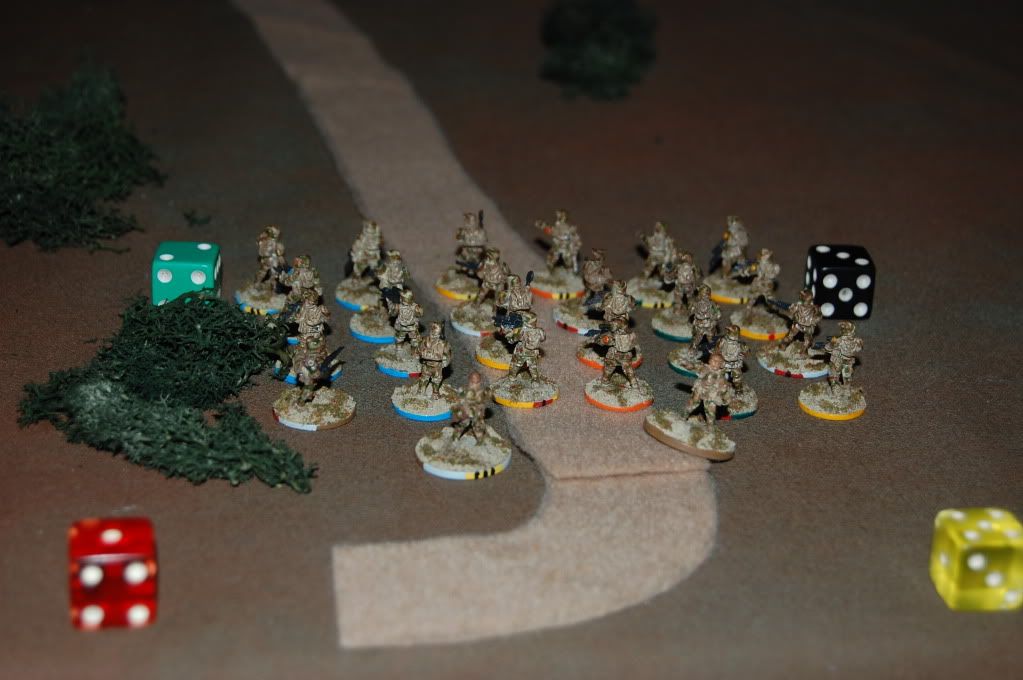
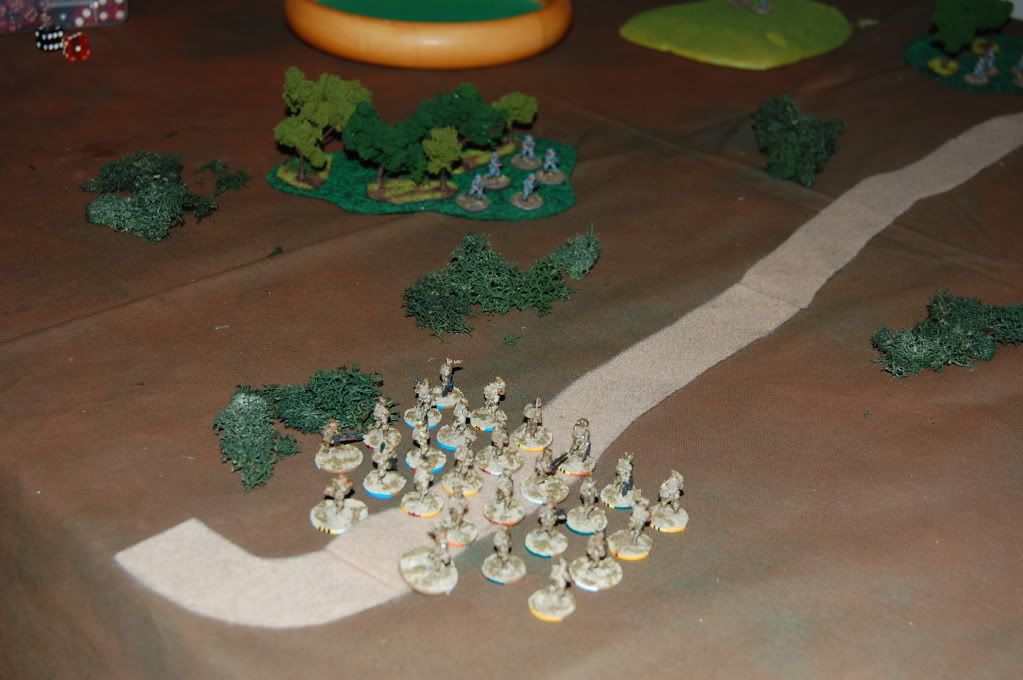
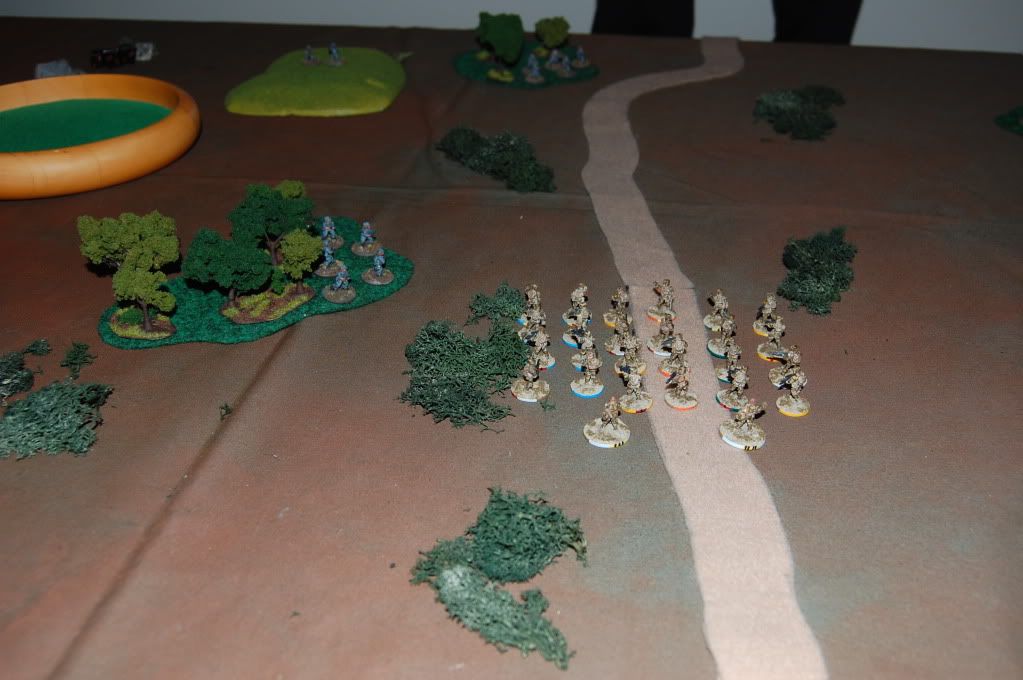
I played the Red Force (after all, I dreamed this craziness up, so it was only right that I took the boot to the teeth on its first playtest!) and we set up as written in a 6" x 6" box along the path. An alternate deployment scheme was to keep 2 of the 3 Squads back in reserves, but I wanted to test out the crowded method :)
My Medic can be seen in the back left, with the 3 black bars on his base. The Platoon Leader is to his right, cockeyed on the road, with 4 stripes.
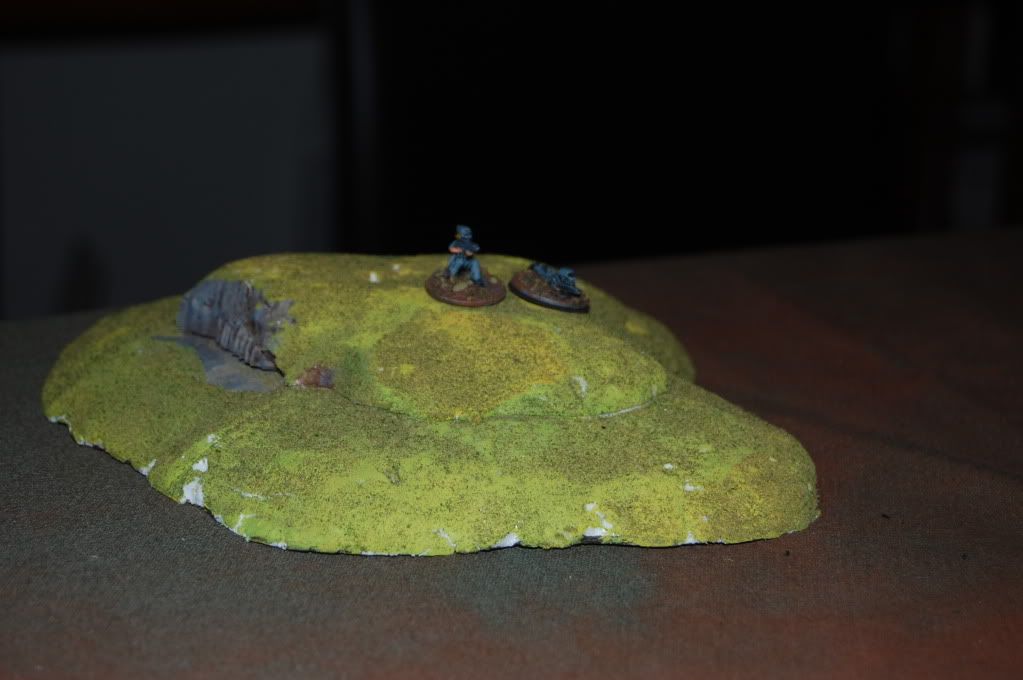
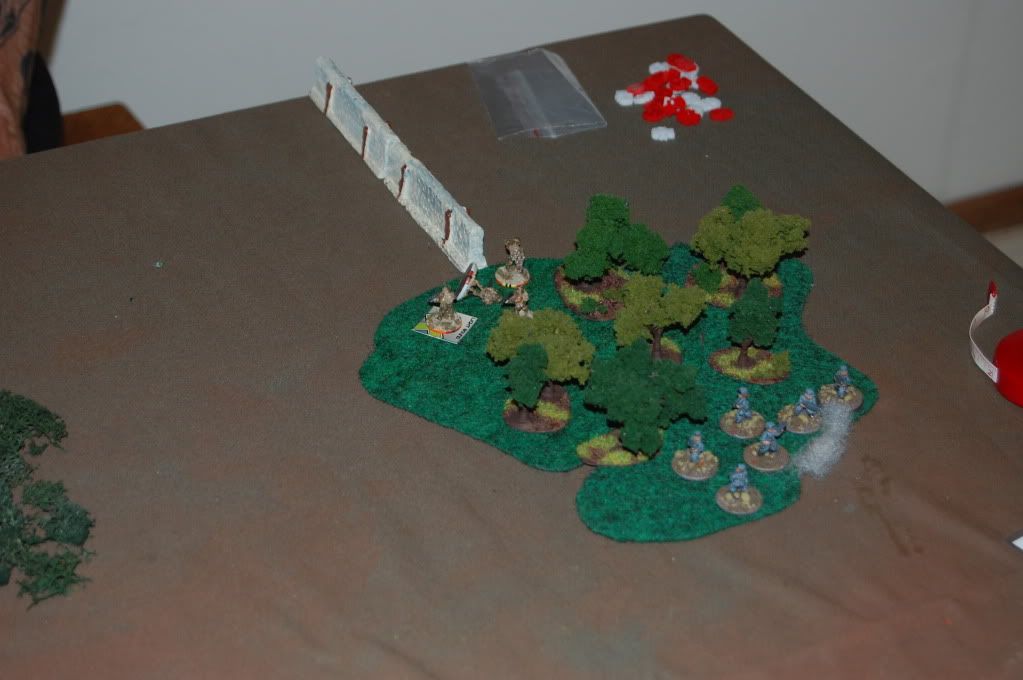
No ambush can be complete without a cast of villains, and the Blue Force showed up in spades. Their Company Command loaned the reinforced Squad their best sniper, seen here lurking directly to the right of the emerging Red Force, where he lays hidden on a hill:
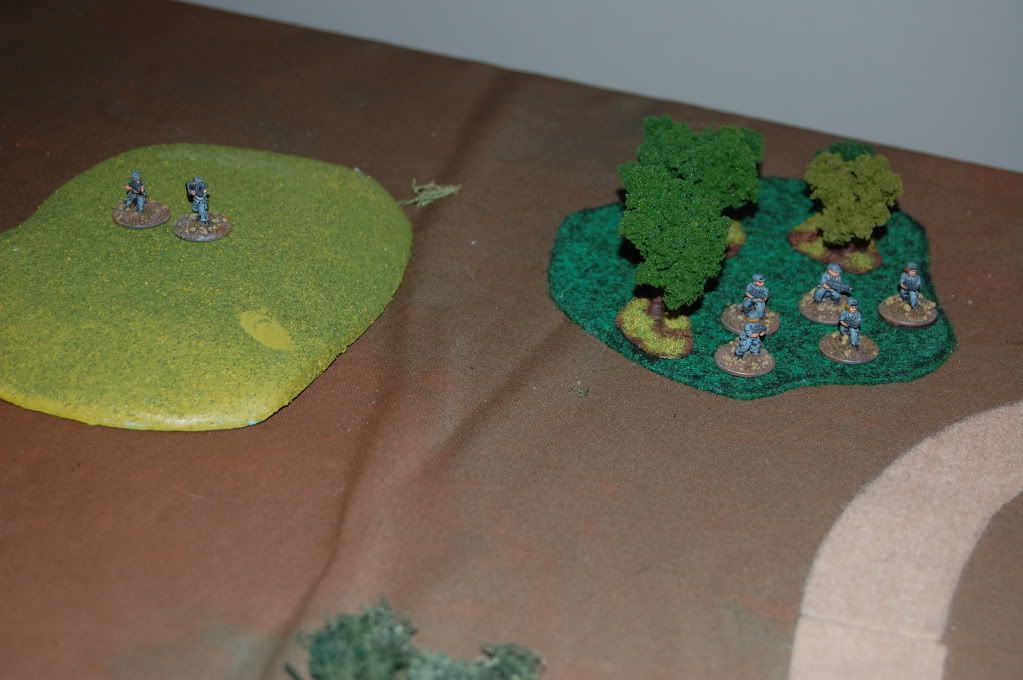
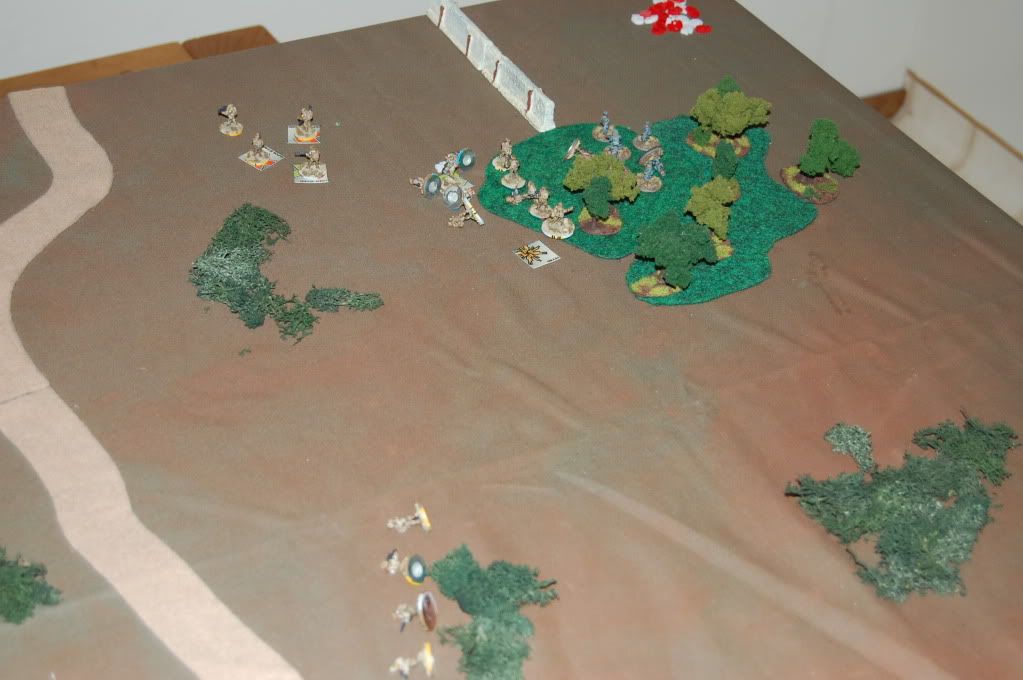
To the Northwest, up ahead and to the left of the advancing Red Force, Blue team #2 can be seen in the trees, with the MMG team up on the hill above them:
Across the board from these guys lurk Blue #3 in the Northeast:
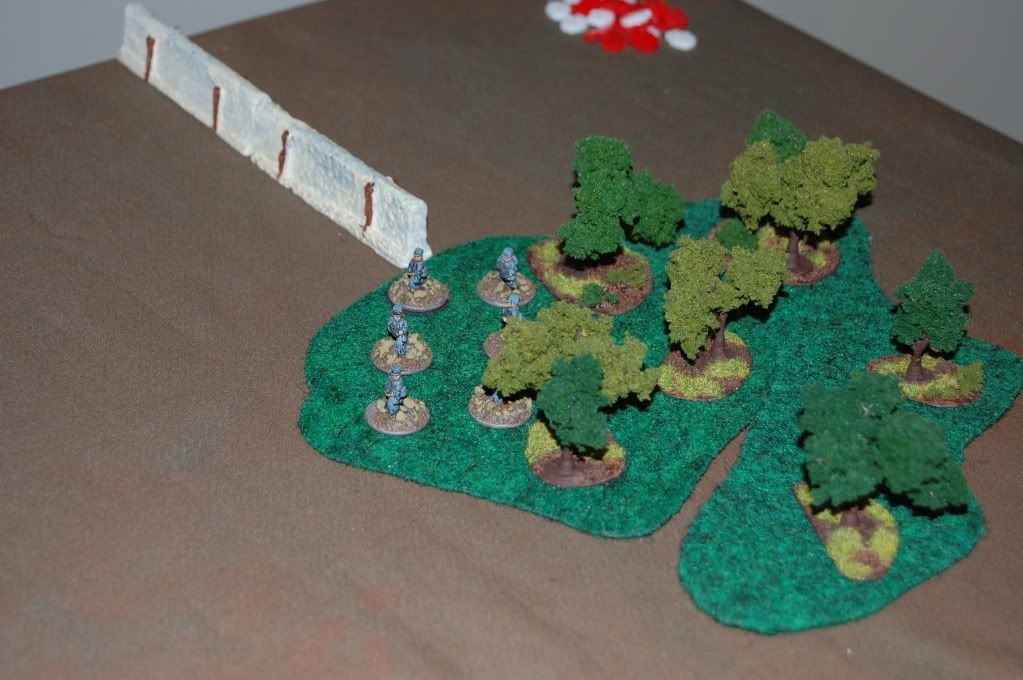
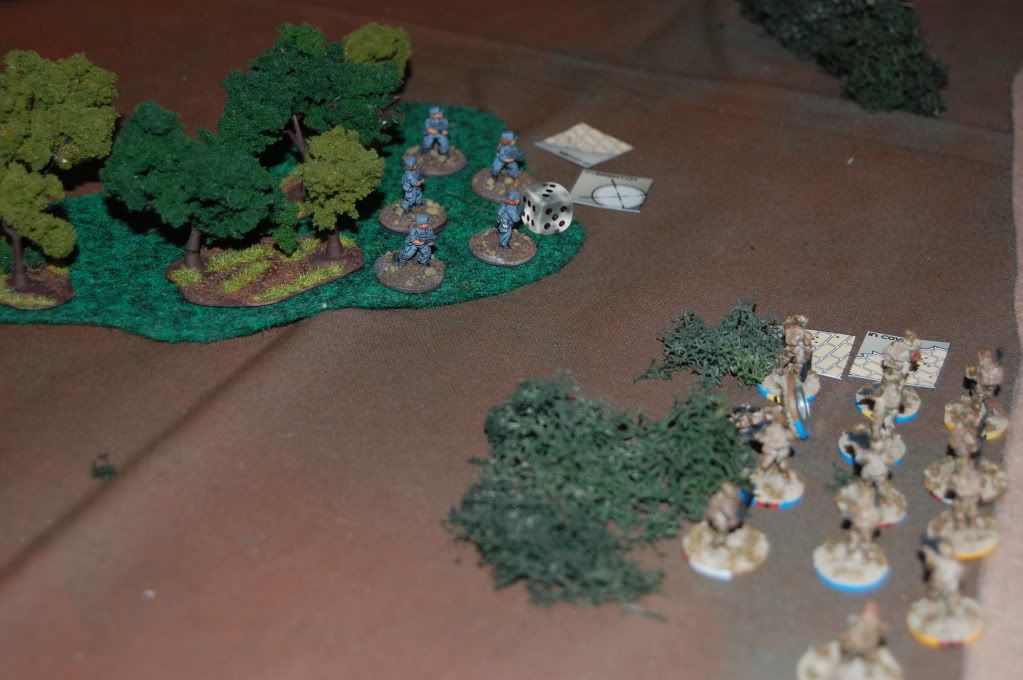
Oh, the pain isnt over. Hidden to our heroes' left is Blue #1, bold and brash in their concealed location just outside of detection range:
The basic rules are this: The Red Force is going to advance down the center along the path. Blue wants to avoid firing until Turn 3, if they can, to get the Reds into their Kill Zone, and as such must pass Troop Quality tests any time they could conceivably react to a Red action. To complicate things, darkness falls at the beginning of Turn 4.
Designers Note: The scenario was written such that Blue #'s 1 and 3 were out of LOS of the deployed Red Team (those trees block LOS 3" into them, and all LOS through them). Once the models were placed, however, the Blue player decided he was comfortable with their location, and so we moved forward as it was.
Turn 1:
Red Force has Init on Turn 1 per scenario rules. One of my fireteams take a Tactical (6") move forward along the edge of the trail, and Aron holds his breath as all 4 of his teams take a TQ test to hold their fire (the sniper doesnt need to test, as his resolve is made of iron). All four pass, and the rest of my fireteams advance unaware.
We decided that since "Spot Hidden Unit" was an actual action, that my units wouldnt be able to passively search, so even though they closed within Optimal Range of the Blue #1 here, no alarm was sounded.
Turn 2:
Initiative is rolled and Blue Force wins it. All 5 units go on Overwatch and dig in their heels as their prey draws closer.
My rightmost fireteam advances...
...and those same four Blue teams take their TQ test. Teams #1 (on my left) and #3 (back right) fail and open fire, using their Overwatch to fire first in the Rounds of Fire. Blue #3 tossed 7d vs 6d and scored 7 hits against my 2 saves, so all 4 of the team members drop:
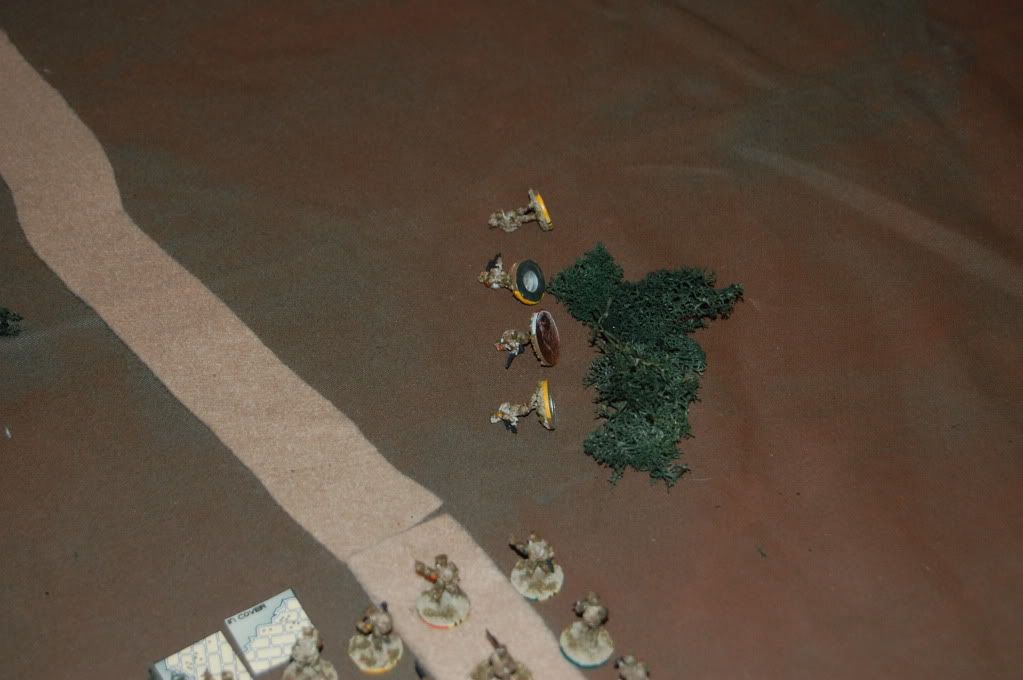
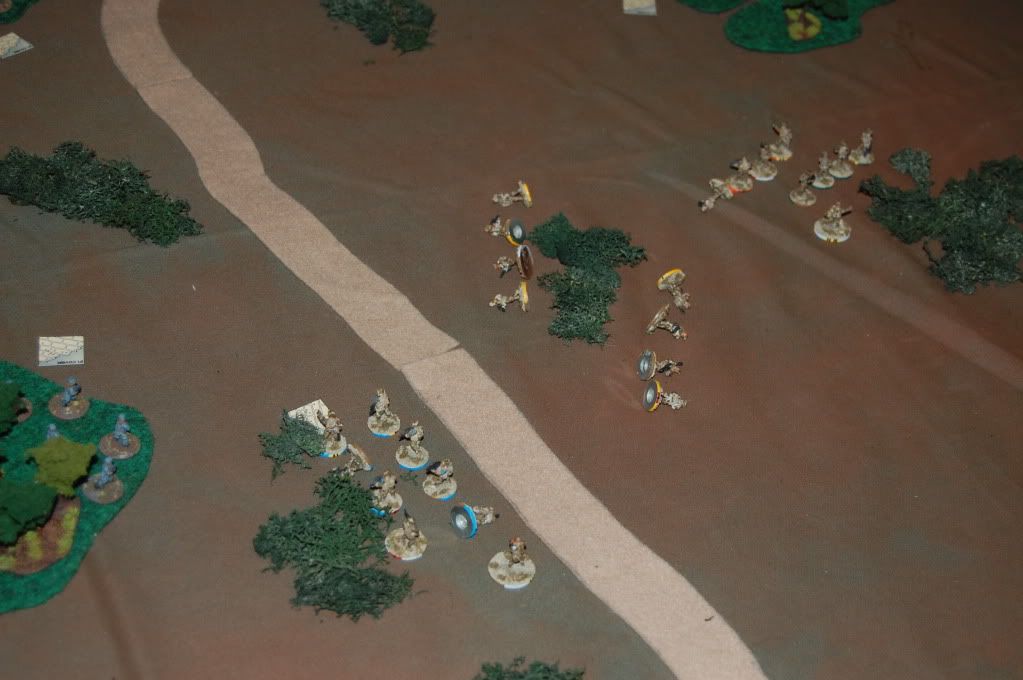
Without all the grizzly details, my teams scattered, and began dashing for cover now that the ambush had been revealed. We had one rules question come up: In the photo below, one of my teams is moving along the length of the tape, and the clear d6 is the intended point that the Overwatching teams are firing at them. Once that fire is resolved, the Round of Fire gives me the chance to return fire...which I do from that clear die? Then, once that is complete, my team advances the rest of the way along their intended route until they reach their destination. At THAT point, the other teams that failed their Reaction tests get to fire...right?
Deciding they have cover, my leftmost team has had enough and declares Fire on Blue #1 in the woods closest to them. The Medium Machine Gun team on the hill breaks their ambush and pours fire into my team but I saved his 4 hits. My return fire was ineffective. Then #1, using Overwatch, fires for their third time this turn but I saved, and my return fire was again ineffective. Then my team gets to perform their actual action, and I shoot up the trees pretty good...and Blue #1's return fire dropped one of my men (his 4d vs my 7d and I cant save! Meep!)
I end up sprinting a few teams to the right, and end up dropping the Machine Gunner's assistant with some return fire (while they have excellent Firepower, small weapon teams dont seem to have much survivability!). A few of my units are halted in their progress by failing key Morale Checks due to casualties (Intimidating weapons didnt scare my boys, which was nice, even though I was rolling d8's for Morale until most of the way through the game when I bothered to check my own notes!).
Another round of fire eventually drops the Machine Gunner himself, and Turn 2 ends:
Turn 3:
2d8 vs 3d6 gives the Initiative back to Team Blue. The Red Force calls its medic over to one of the wiped out teams, and First Aid rolls are pretty gentle to me, with no KIA this turn:
Blue #1 and #2 go on Overwatch. The sniper contines to survey the field from his hilltop, and Blue #2 adjusts their location inside their woods. I argued with myself for a minute or two, but finally decided NOT to react to this movement at all, figuring I would get to fire from any Rounds that came my way, and wanted to move on my own at the end of the turn. He decides to fire at my Platoon Leader's fireteam on my right. Question: My fireteam hadnt moved yet this turn. Does it get the In Cover defense die when it is fired upon? We decided NO, because it was hoping/planning/going to move later that turn, but predicating rules on assumed future actions is iffy, I think...anyway, fire on both sides was ineffective.
Finally the sniper slips the safety off, sights on the backs of some sprinting Red Force soldiers, holds his breath, and unleashes hell. One of my units had broken the halfway point in its mad dash for cover on my right, but the sniper blows his Overwatch roll and a storm begins to blow in, reducing Optimum Range to 6" for everyone (not that it mattered, really). Unit #1 also fails their Overwatch test, but Blue #2 doesnt. At the point of impact, my team is Exposed and moving Rapidly, but for all that (his 8d vs my 5d) I only take 1 hit and scamper into the safety of the trees. With LOS now blocked, the sniper eases off the trigger and sighs, as do Blue #1 (well, "sighing" for the grunts was more likely "cursed uncontrollably").
More running, another Red fireteam is wiped out, and I generally get closer to safety...or so I hope. Darkness decends and Turn 3 is done.
Turn 4:
Again with the 2d8 vs 3d6 and Blue wins Initiative. I end up suffering one KIA in the woods to the right, and then Blue comes in with the plan to break the rush once and for all.
Blue #1 uses Suppression Fire on my Platoon Leader's fireteam. I pass the MC for Suppression, but take a casualty, and that MC results in the team being pinned. Mrrr! I had hoped to get my leader off the board this turn, and now he was stuck in cover and wouldnt risk his neck leaving it. Blue had hoped to keep their heads down for another reason however:
Blue #3 declares a Close Assault at my second unit in their woods. My Defensive fire drops one of the charging maniacs, and the Morale Check is a Pinned...until we realize he threw one too few dice. The extra die is a success, and Hand to Hand is joined. After two rounds of it, my men were dead or captured. The remaining fireteams on my side made moves as best they could, and we called it.
The night was drawing late (in real life, not just in the scenario!), and the scenario had quite some moves to be made before it could rightfully be resolved. We did some quick math, made some educated guesses, and declared it "too close to call", giving an exceptionally Marginal Victory to the Red Force for surviving so long.
Brutal.
I have to say, the game was really enjoyable. The balance for the scenario felt JUST about right, and both of us had much better knowledge of the game than the first time. In fact, if I hadnt been taking copious notes and taking pictures, we likely would have finished the entire game, but then you wouldnt have known how it turned out, would you? You should be grateful! :)
Actually, all kidding aside, the game really was fun. We were calculating and throwing dice fairly quickly. We had a few complications (like Overwatch, which added a layer of crunchiness to the order of things) that we spent time looking up, but it really did flow much better this time around. That being said, the game is CRUNCHY. I look at games on two extremes: Beer & Pretzels, and "Let's drink our beer AFTER the game so we can come down off the brain fry". Tomorrow's War was certainly the second for us; maybe a splash too crunchy for a relaxing evening of gaming. I am not planning on shelving it out of disgust or for any other silly reason, but may not be breaking it out until I try a few of the other 15mm options out there for comparrison. I will, however, give it more props than I did originally: it worked for me this time around (see my previous blog: I read Force on Force to get some needed clarification...)
Oh yea: I updated my Quick Reference Sheet HERE. It worked really well this time.
Thanks for reading.


Another good report, well done . . . What's next?
ReplyDeleteI would hazard a guess that Gruntz will make a few appearances, followed by a delve into some 6mm action (ala Strike Legion). But the winds are ablowin' and we'll see where it takes us! (or how much you're willing to put up with, lol!)
Delete